This guide explains how to survive Kindlewastes Hollow Halls Dungeon solo and with a group and get the Sinister Crescent Staff in Enshrouded.
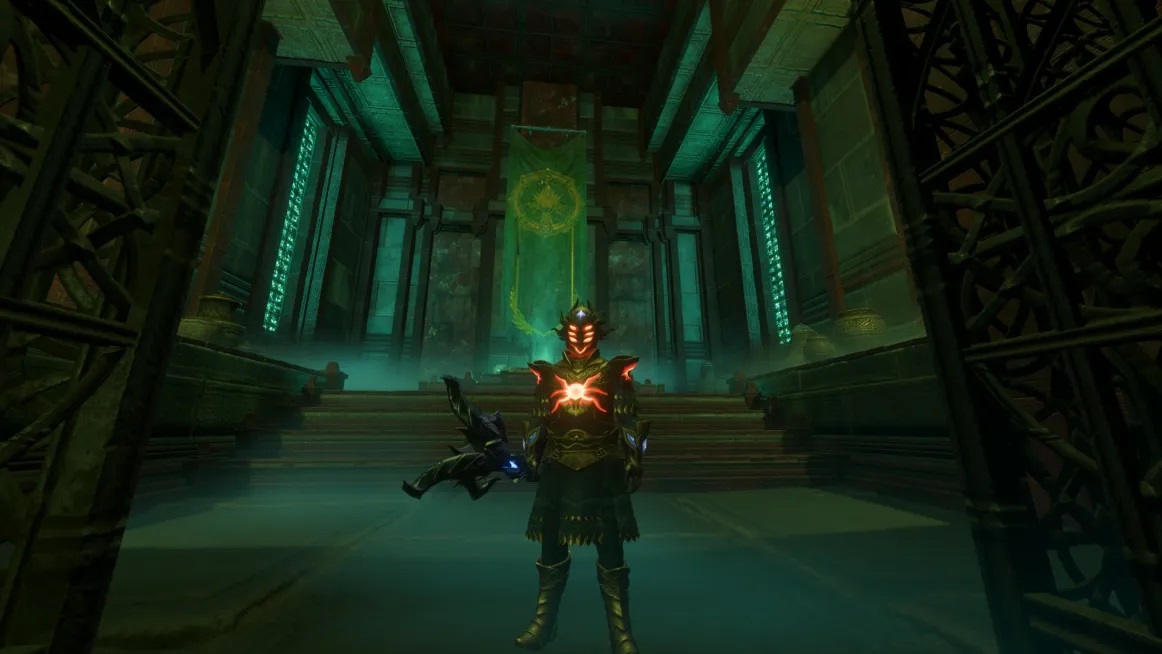
Enshrouded Kindlewastes Hollow Halls is the last dungeon in the Enshrouded and is considered the most difficult. You should prepare food, tools, and many other items to help you beat it. Players must deal with various mechanics, puzzles, a boss, and larger waves of enemies. The dungeon is located northeast of the map and of the Ancient Spire—Kindlewastes Fast Travel. The recommended level for this dungeon is 25.
Kindlewastes Hollow Halls Key Mechanics
Here are a few Key mechanics and takeaways from the Kindlewastes Hollow Halls dungeon:
- You must complete at least two lower-level dungeons to obtain the ingredients required for creating Kindlewastle’s Bone Key, allowing you to access the Hollow Halls dungeon.
- You must unlock magick barriers to proceed through the dungeon by collecting runes.
- You will encounter swarms of undead enemies and sceletons, so we recommend you prepare for big groups of enemies.
- The dungeon might be challenging, depending on your level. The Dungeon Level is 25. So if you are below or close to this level, we advise you to bring some friends or level up before you enter it.
Rewards
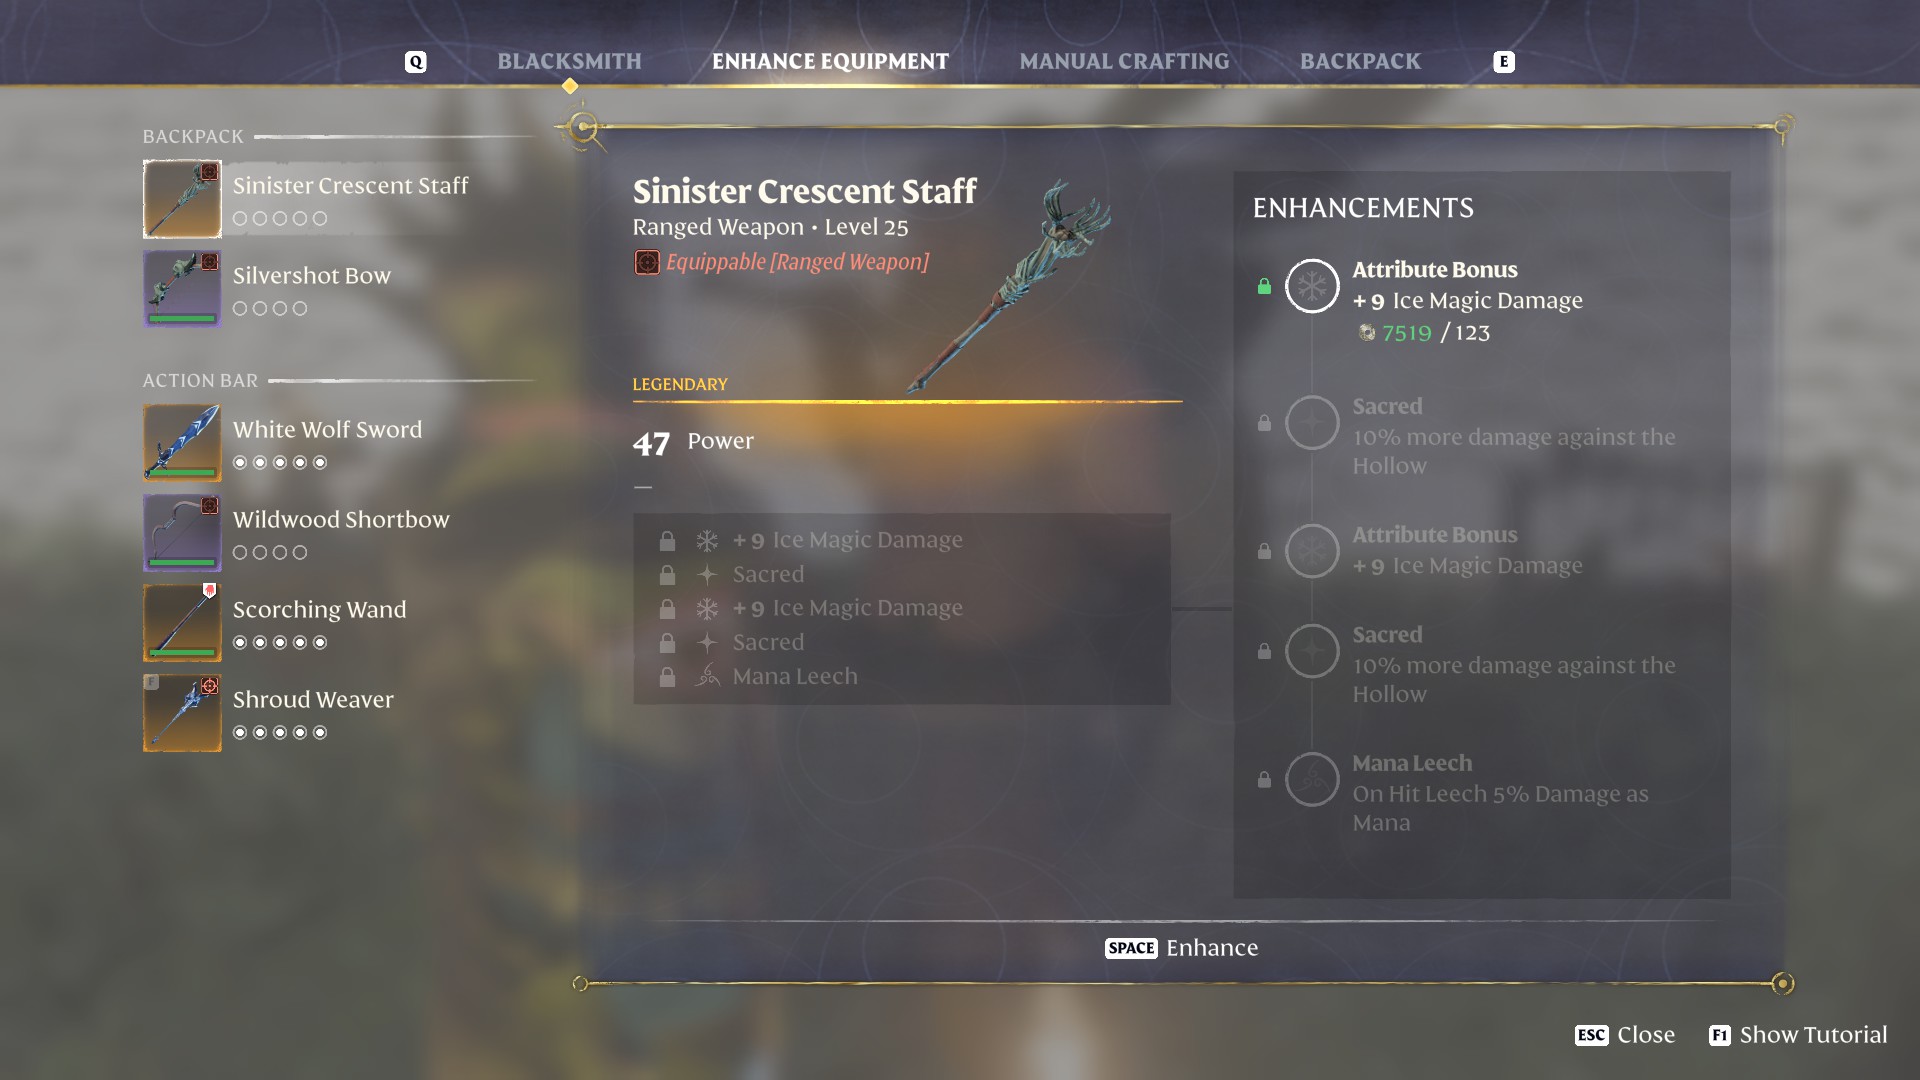
- the Sinister Crescent Staff (level 25)
- the Frozen Core Wand (level 25)
- Hollow Cyclops Head
- Bonne Channels 2
- Giant Bone Arrows
- Ectoplasm Fragments and Ectoplasm Crystals
- Bones
- Giant Bones
Strategies, Tips, and What to Prepare for Kindlewastes Hollow Halls

- Ensure you have a glider, preferably a legendary glider, which is the strongest in the game.
- Grappling Hook
- Source of light – torch
- High-level food, bandages, health potions such as Greater healing potions, boiled eggs, and grilled meat.
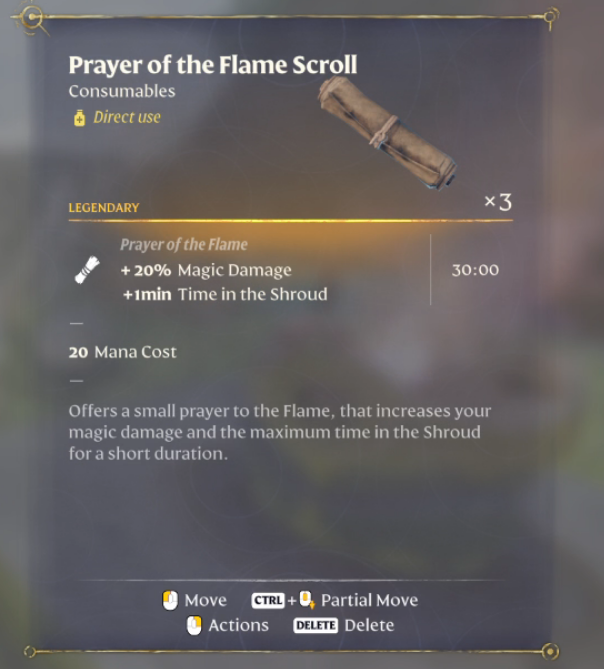
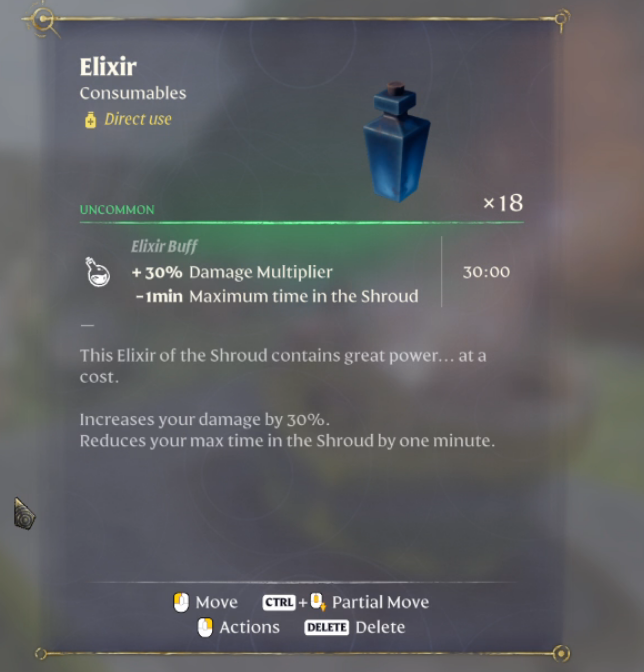
- Elixir for extra damage, and Prayer of the Flame Scroll if you are a spellcaster.
- Greater Ectoplasm Soup can be crafted from sugar, and greater ectoplasm is made from Ectoplasm Shards. This unique food is exceptional for Hollow Dungeons.
- Mages, ensure you have AoE spells like fire staff charges or explosive arrows as an archer.
- Recommended builds and range playstyles: Ranger, Assassin, Healer, Battlemage, or Wizard.
- Bring a stock of arrows, exploding arrows, healing charges, and fire charges.
- Recommended Skills: Updraft, Airborne, Emergency Blink, Double Jump.
- Upgraded flame Altar at least level 5
- Completing the Hollow Halls dungeon with friends
Kindlewastes Hollow Halls Walkthrough
Below is a detailed guide on unlocking the best legendary staff, the Sinister Crescent Staff, and solving all puzzles in Enshrouded Hollow Halls Dungeon.
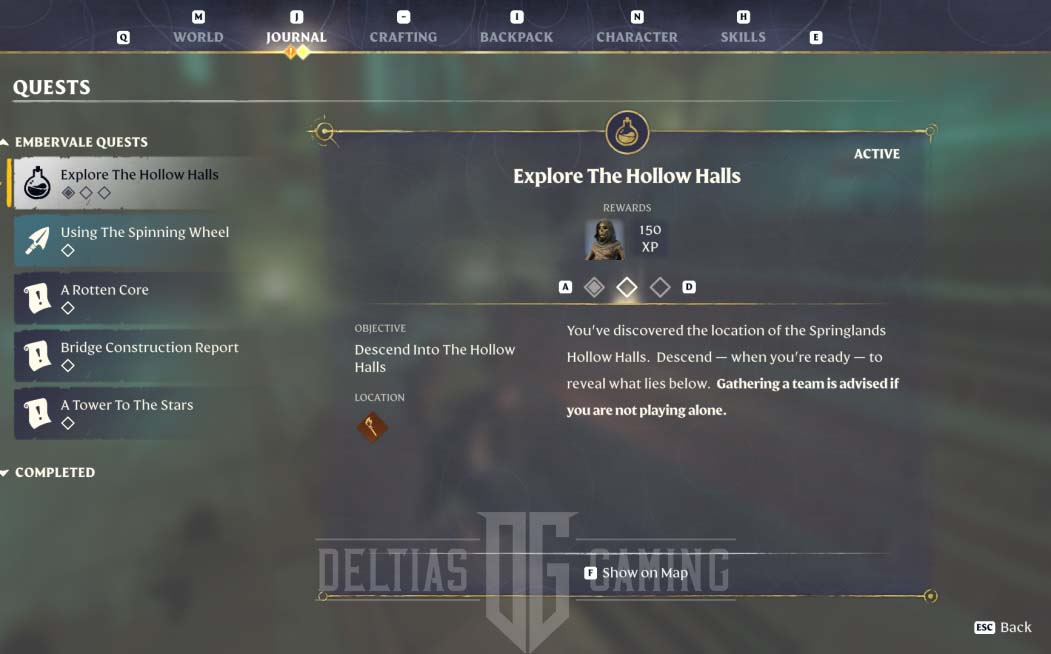
Find Kindlewastes Hollow Halls
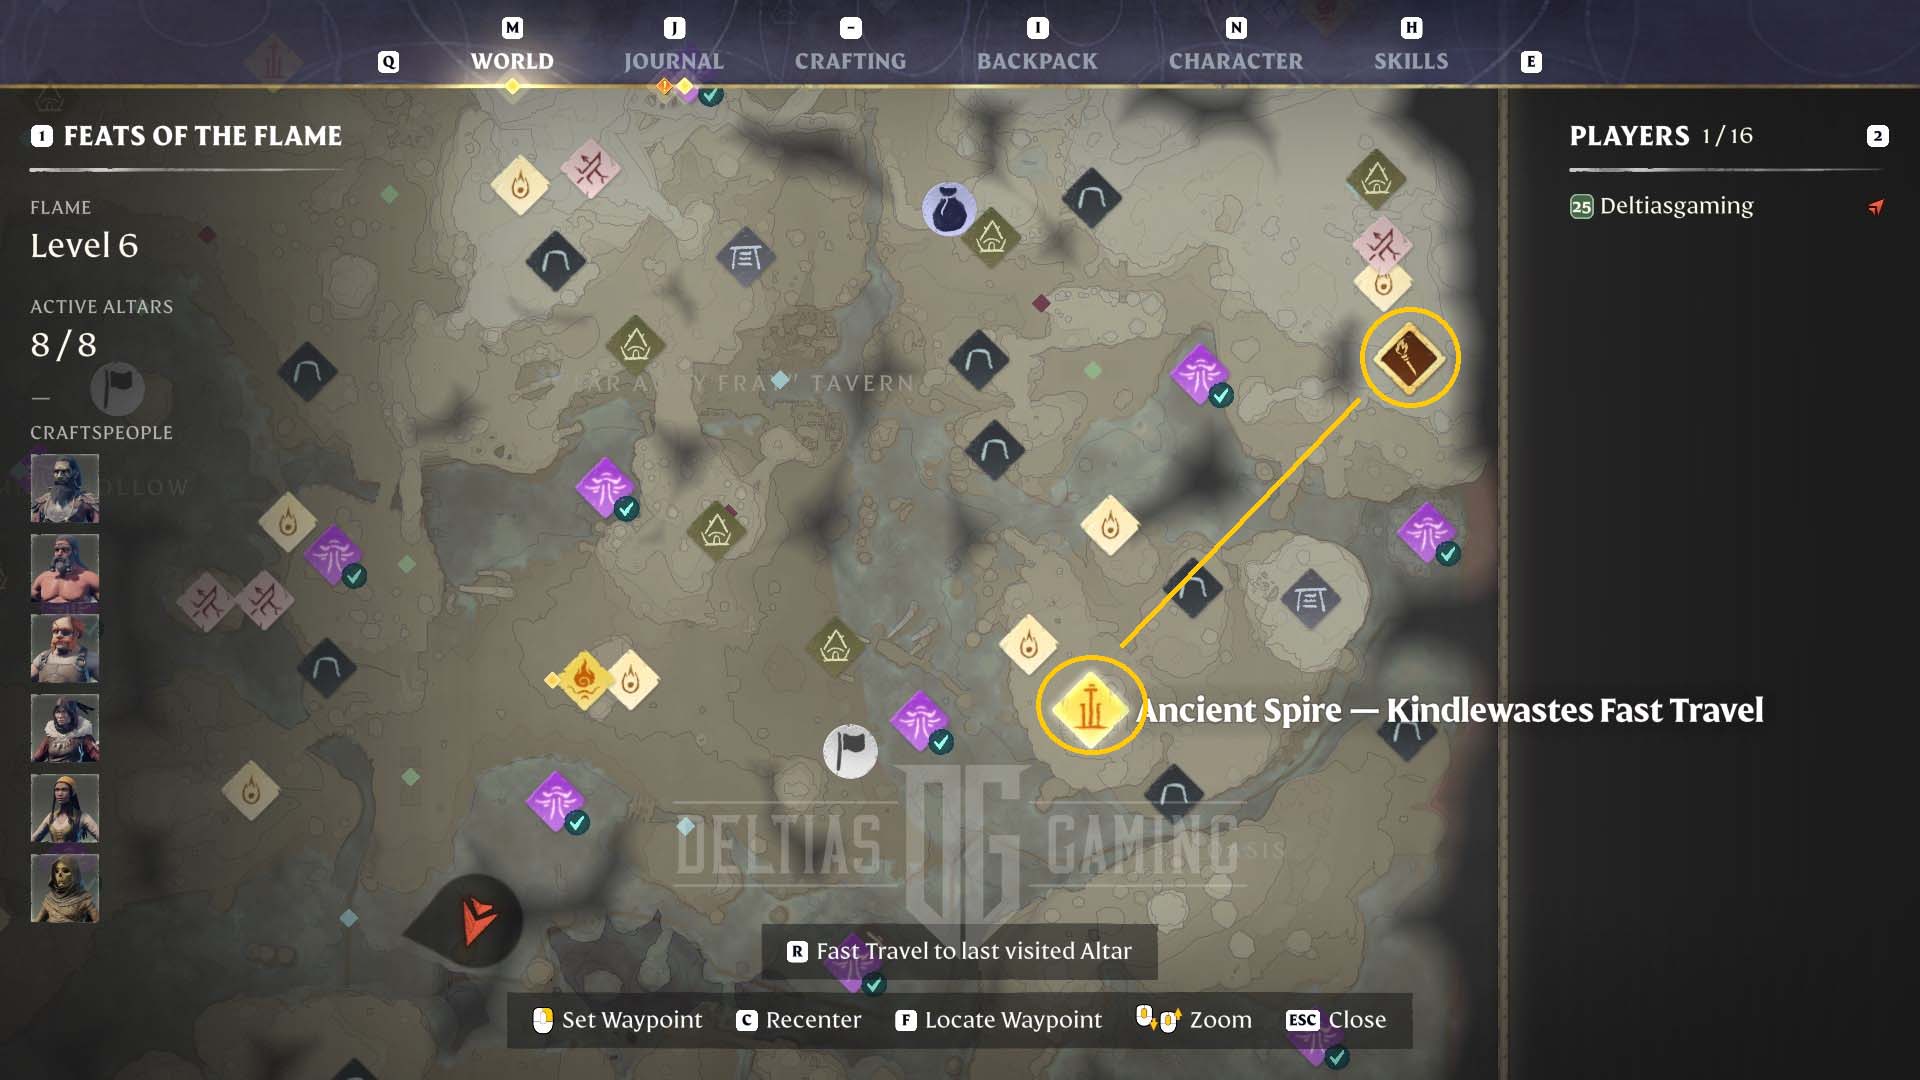
Teleport from Ancient Spire – Kindlewastes Fast Travel fly northeast. It’s the ancient spire in the desert area, and you will not only need an upgraded flame altar to get to this location, but also to survive the shroud in the Kindlewastes Hollow Halls Dungeon in Enshrouded. The legendary glider and updraft skill will help you fly as far as possible.
Travel in the northeast ravine of Kindlewastes until you reach a red building built into the sandstone wall.
Enter Kindlewastes Hollow Halls
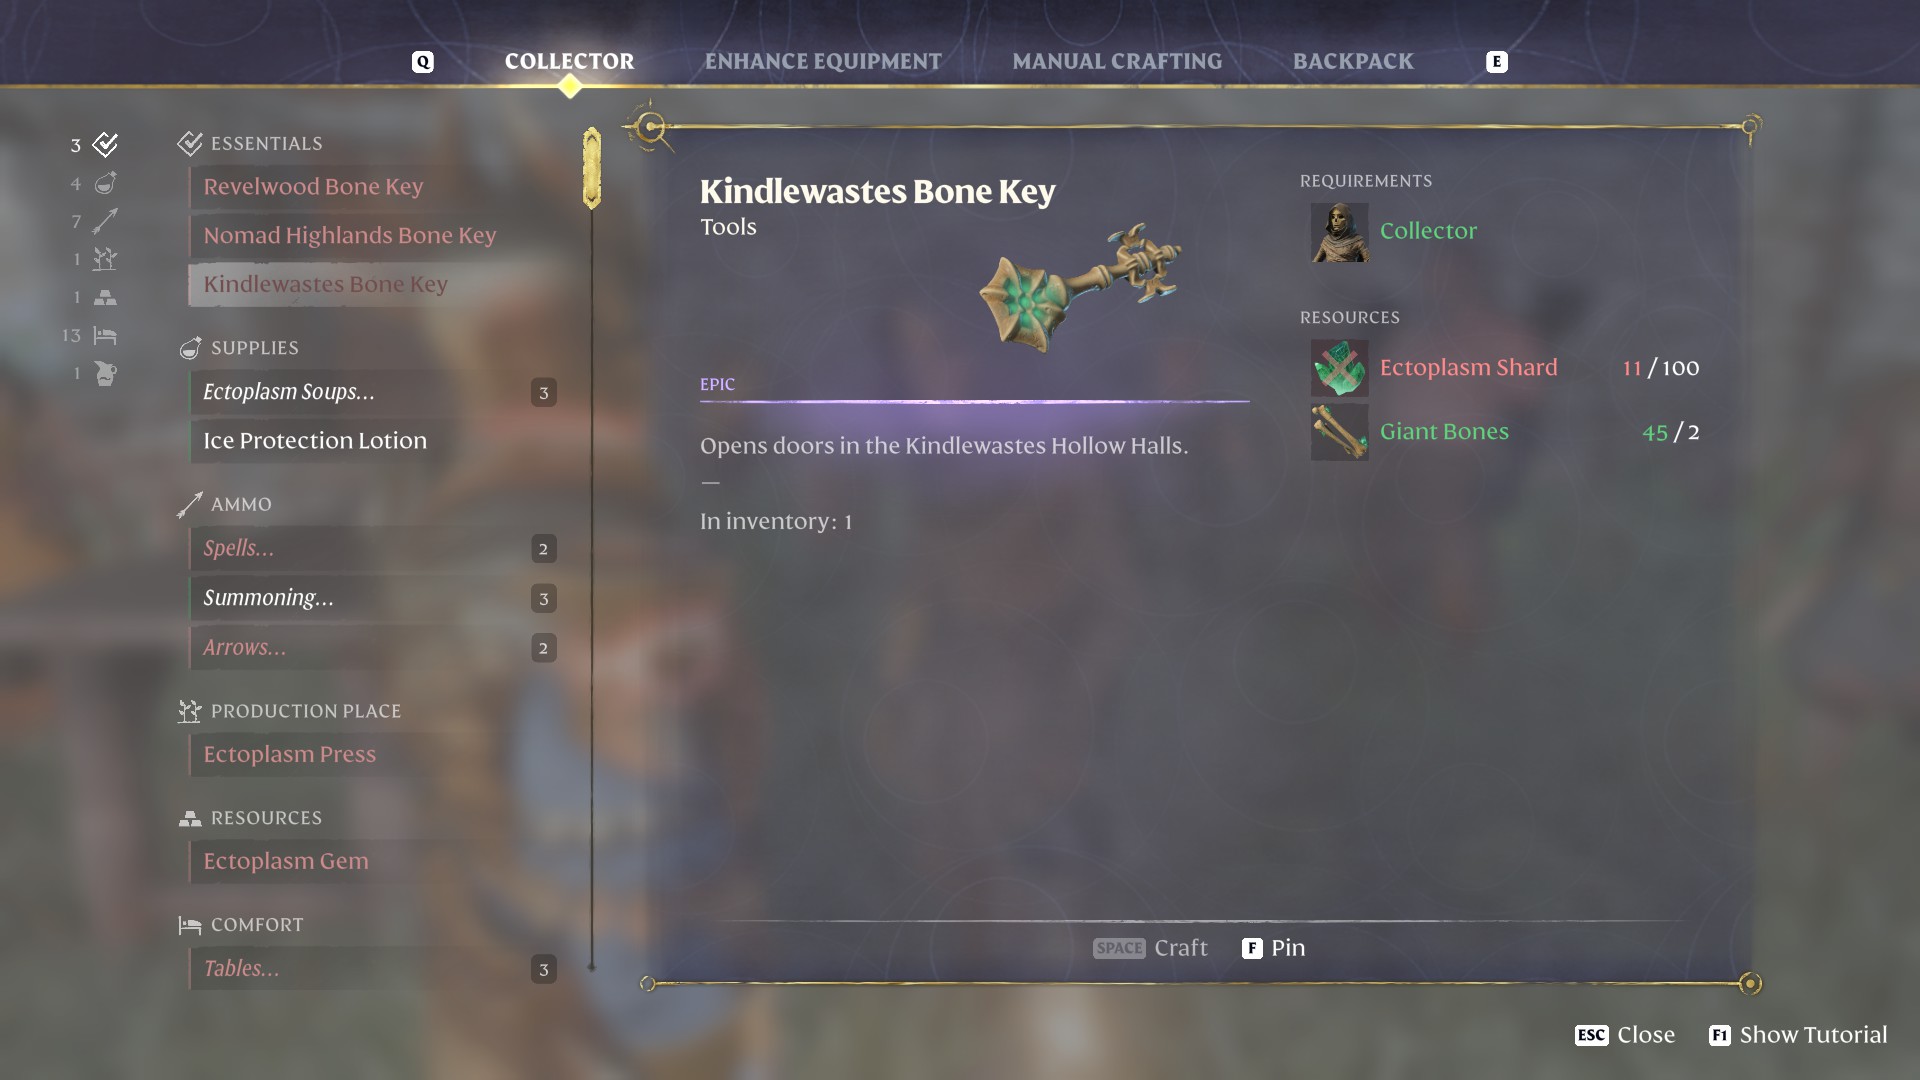
Use the pre-crafted Kindlewastes Bone Key to open the gate and enter the Hollow Halls. As you enter and start to loot, you will quickly notice new items available from this dungeon: giant bone arrows, staff charges 2, and other necromancy-related crafting materials, such as ectoplasm crystals.
Another unique thing about this dungeon is the shroud inside; if it’s red, do not enter and upgrade your altar first. Otherwise, watch your timer. As soon as you enter, the undead will start to swarm you. Ensure your food is active; you can have up to 3 food buffs simultaneously. Ectoplasm soup lowers your health but significantly buffs damage against enemies in Hollow Halls.
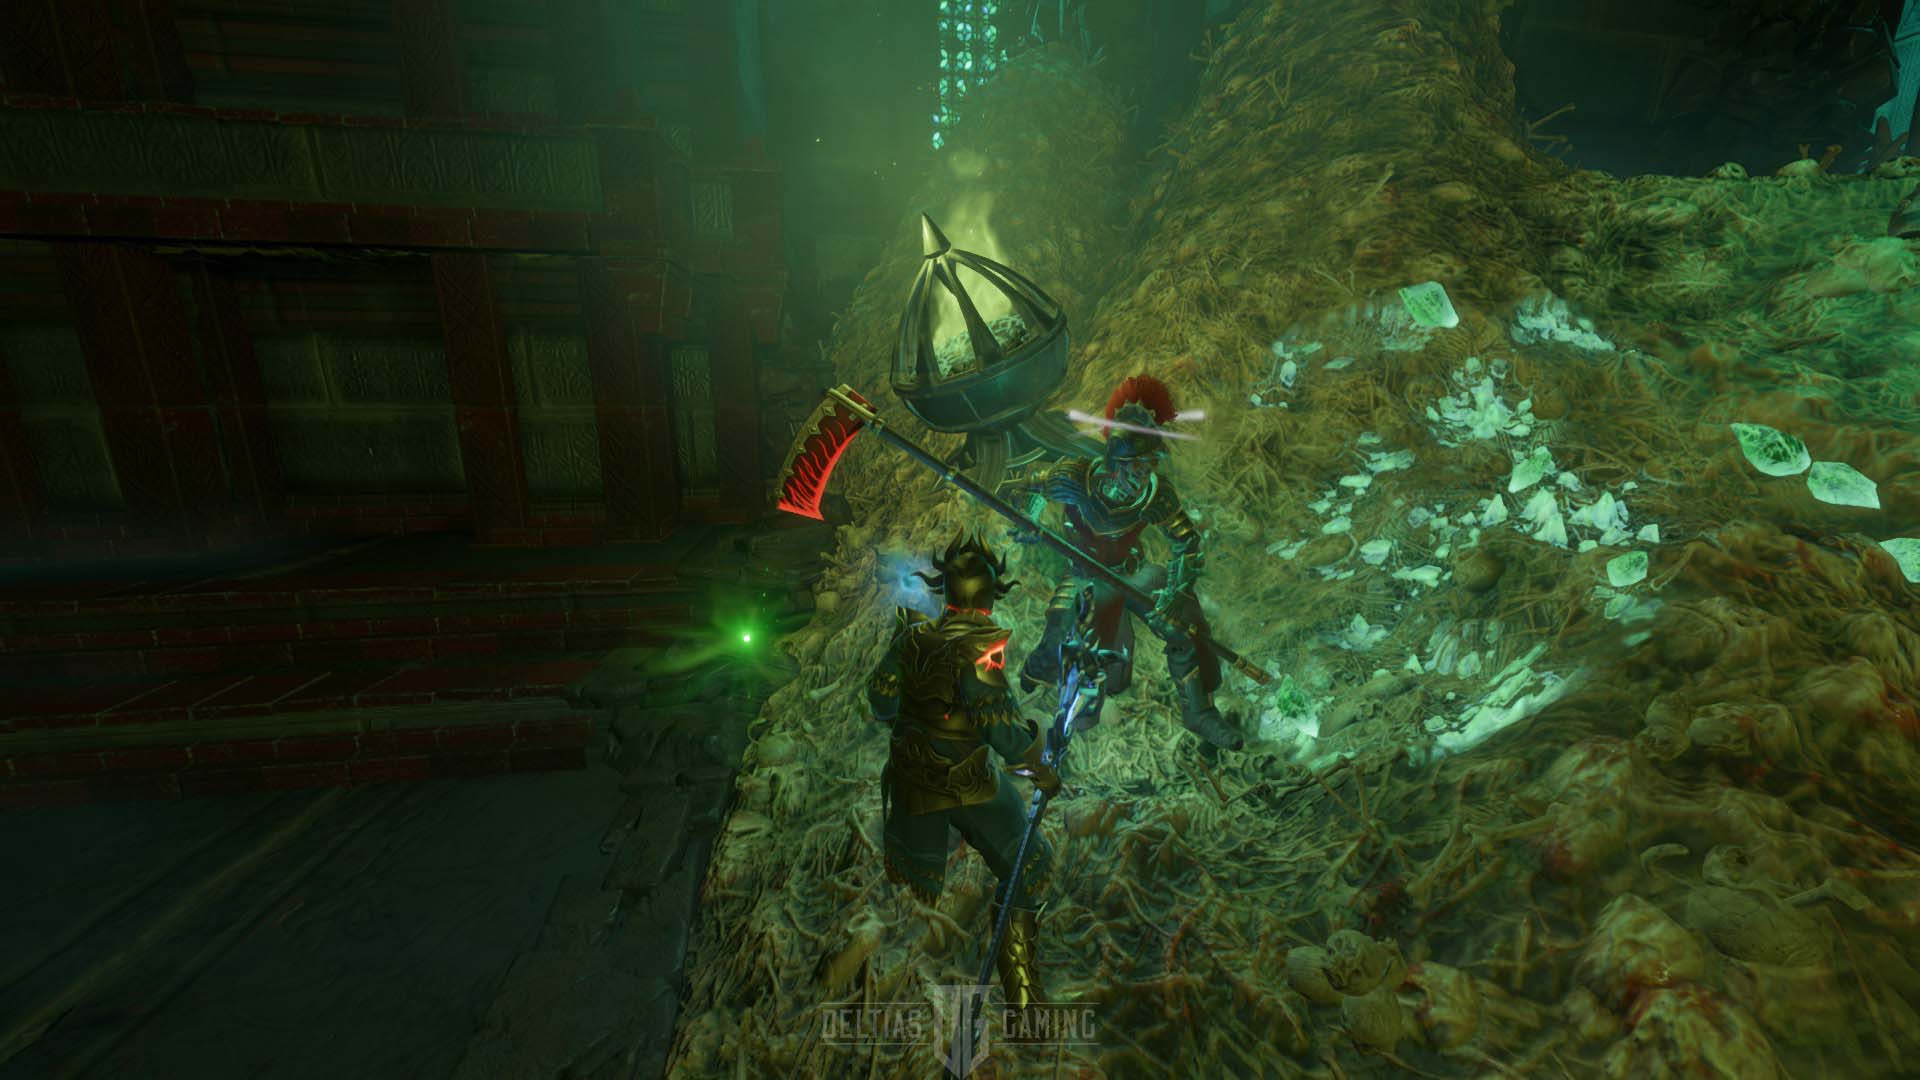
The new resource, Ectoplasm Crystals, drops from enemies with the scythe and more distinct-looking undead. They are also more challenging to defeat. Keep an eye out. Loot the area and pass through the first teleport to start.
First Floor in Enshrouded Kindlewastes Hollow Halls Guide
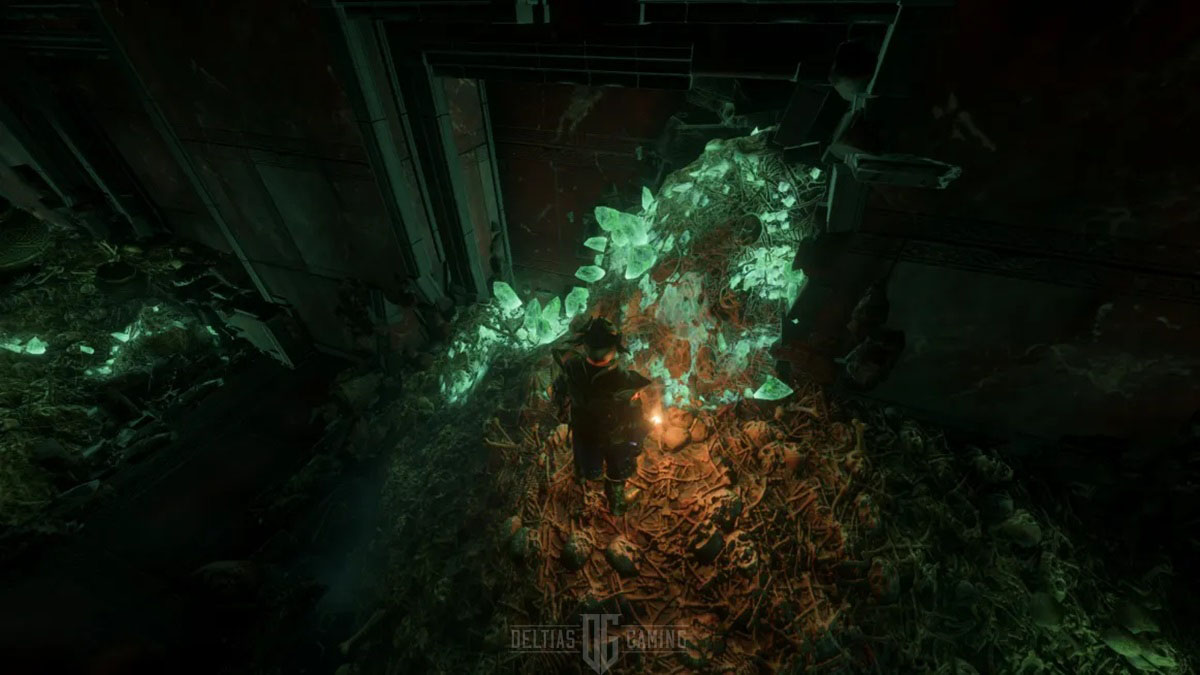
Activate the beacon and repair your gear if necessary. When you pass the next closed door, prepare for a fight. Crystals will also grow from the bones, from which you can mine some ectoplasm fragments.
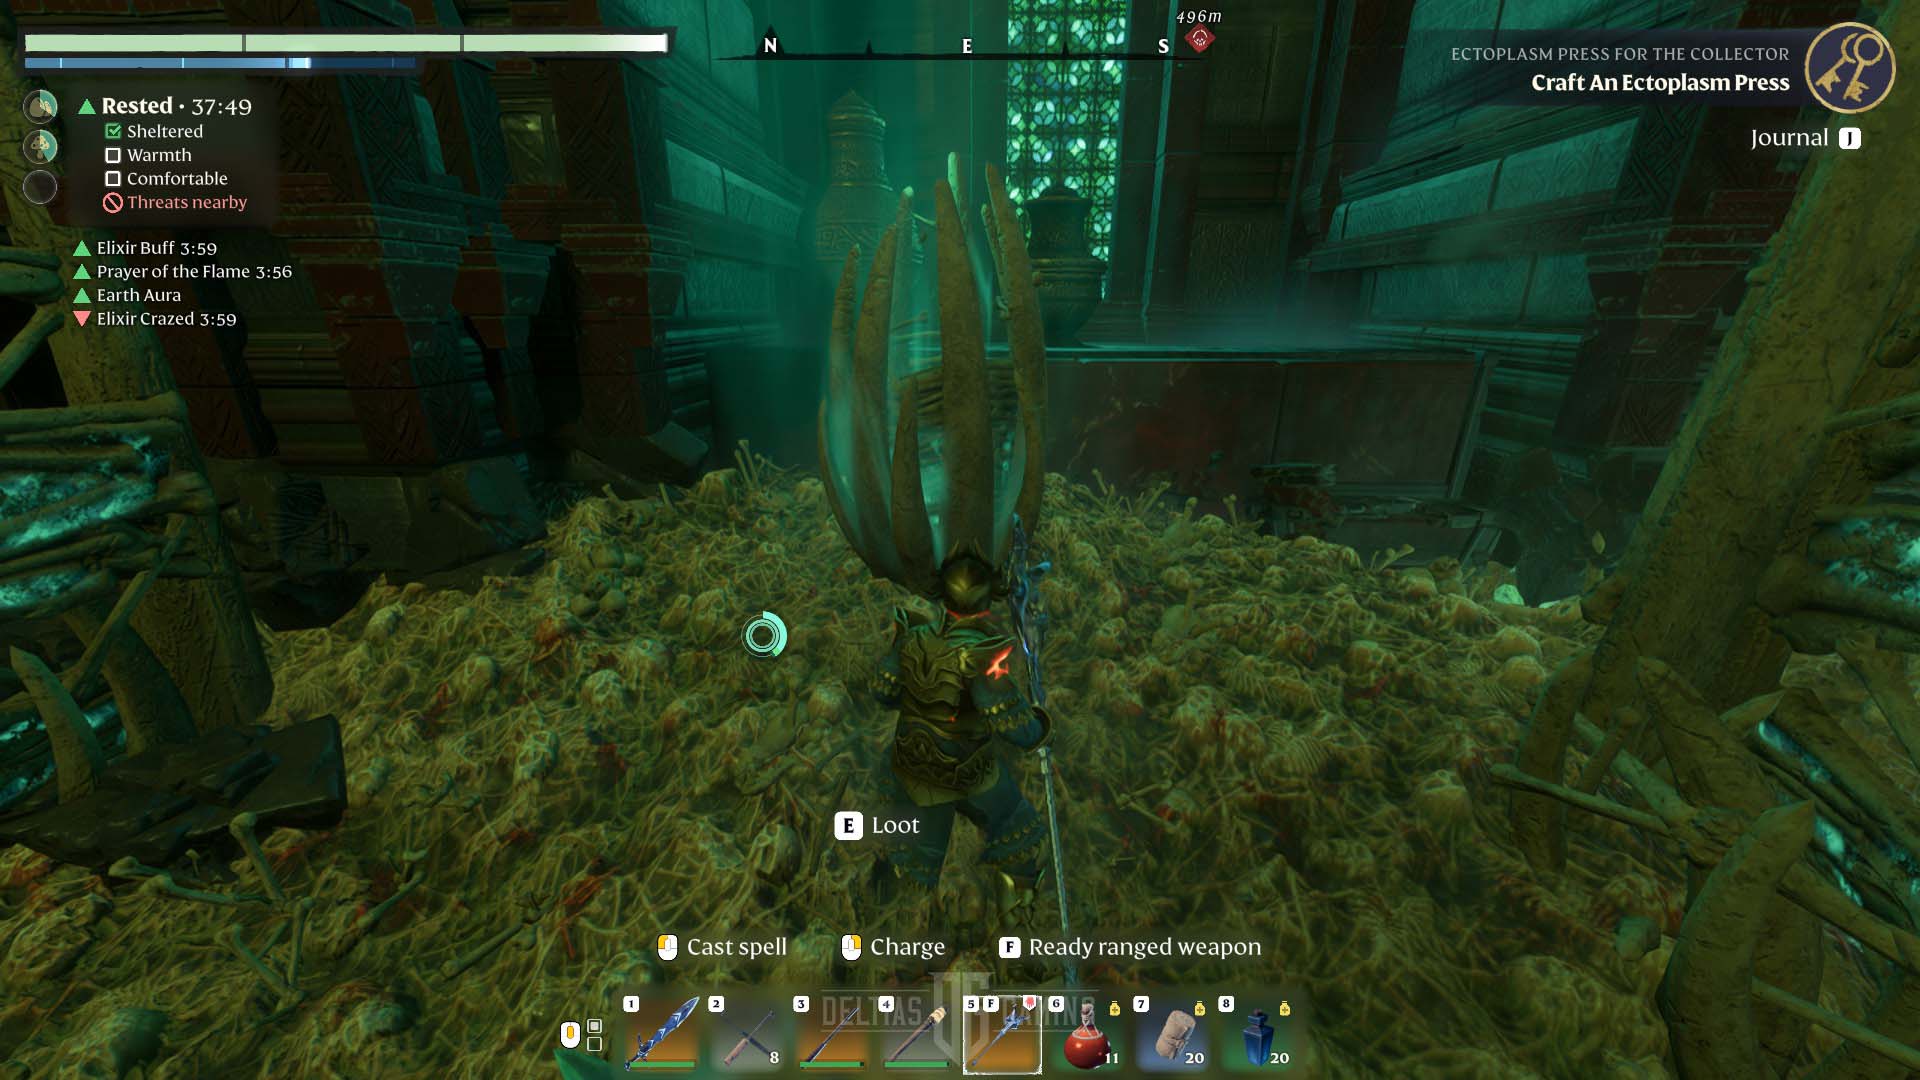
An essential mechanic in this dungeon is to destroy the bone totems as soon as you notice them. It will appear from bones and spawn continuously 6-8 skeletons. You must destroy it; otherwise, they will swarm you.
Head down the stairs, defeating the following waves of enemies.
First Magickal Barrier – Puzzle Solution
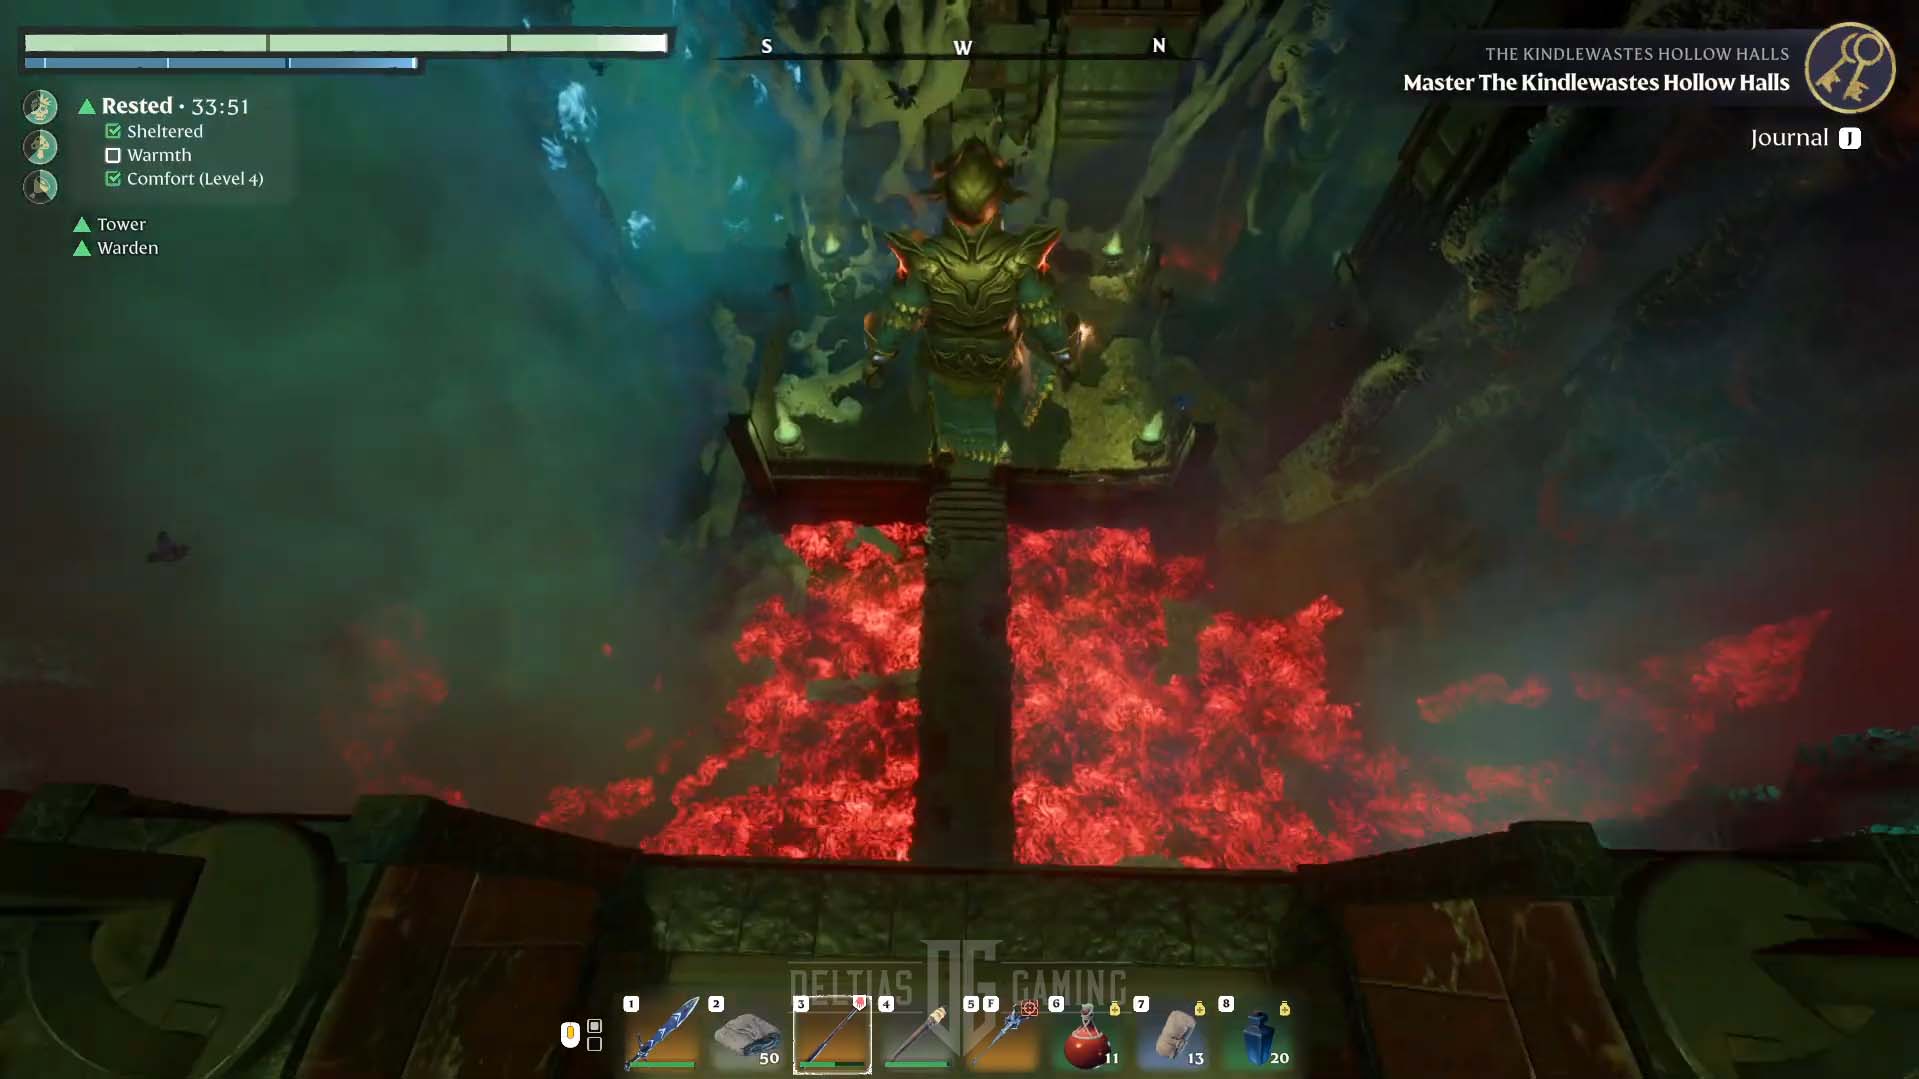
After passing a small corridor with red walls, you will encounter a giant hole in the floor. Prepare for another fight and glode down to the level below on what looks like an arena. Defeat the enemies. Some places here are covered with shrouds. Also, some of the previously introduced undead with scythes will have runes above their head; you must defeat them to solve the first puzzle and pass the magical barrier.
When you receive the information that the barrier is unactivated, you can pass the door to the room with one more beacon and repair table.
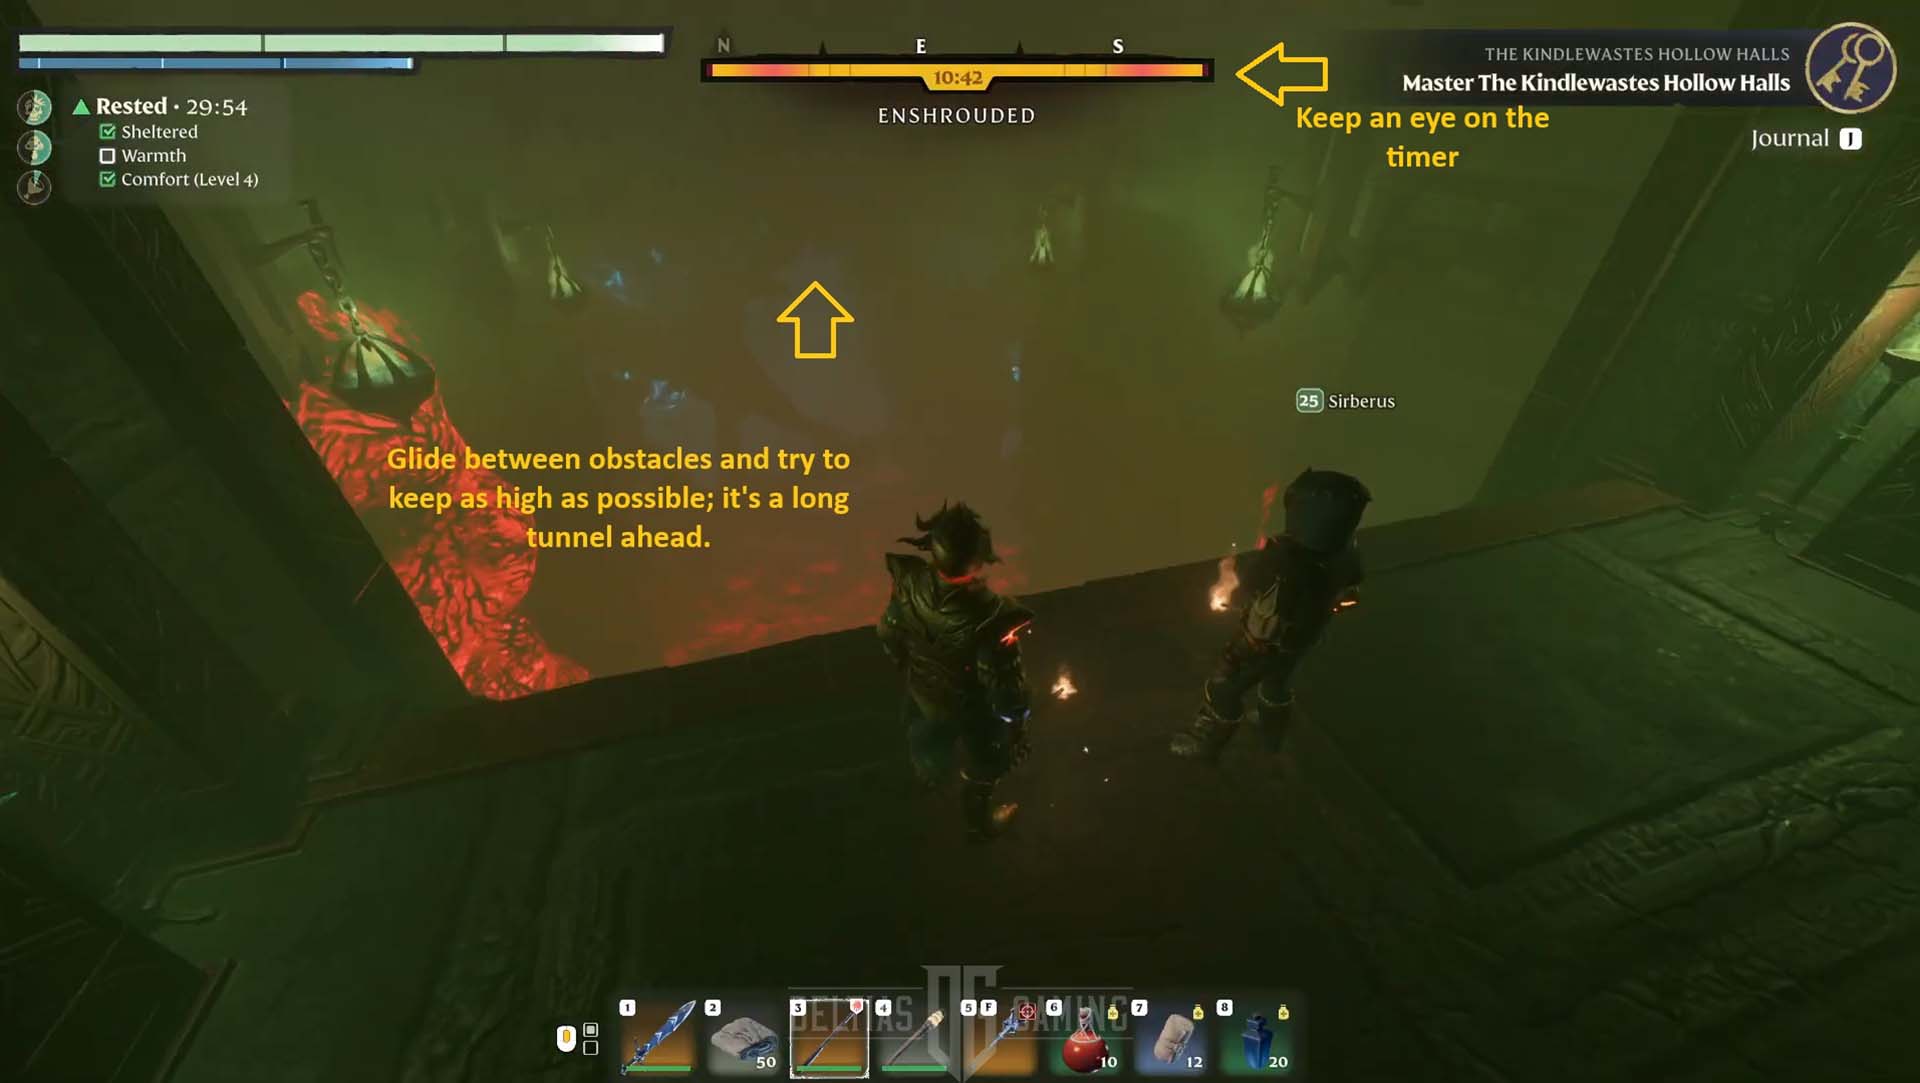
As you proceed, you will find another chasm in front of you, this time with a lava floor. You must glide far away and pass the many obstacles, so a legendary glider is recommended. You will eventually land at the end of the tunnel on another platform.
Glide between obstacles and try to keep as high as possible; it’s a long tunnel ahead.
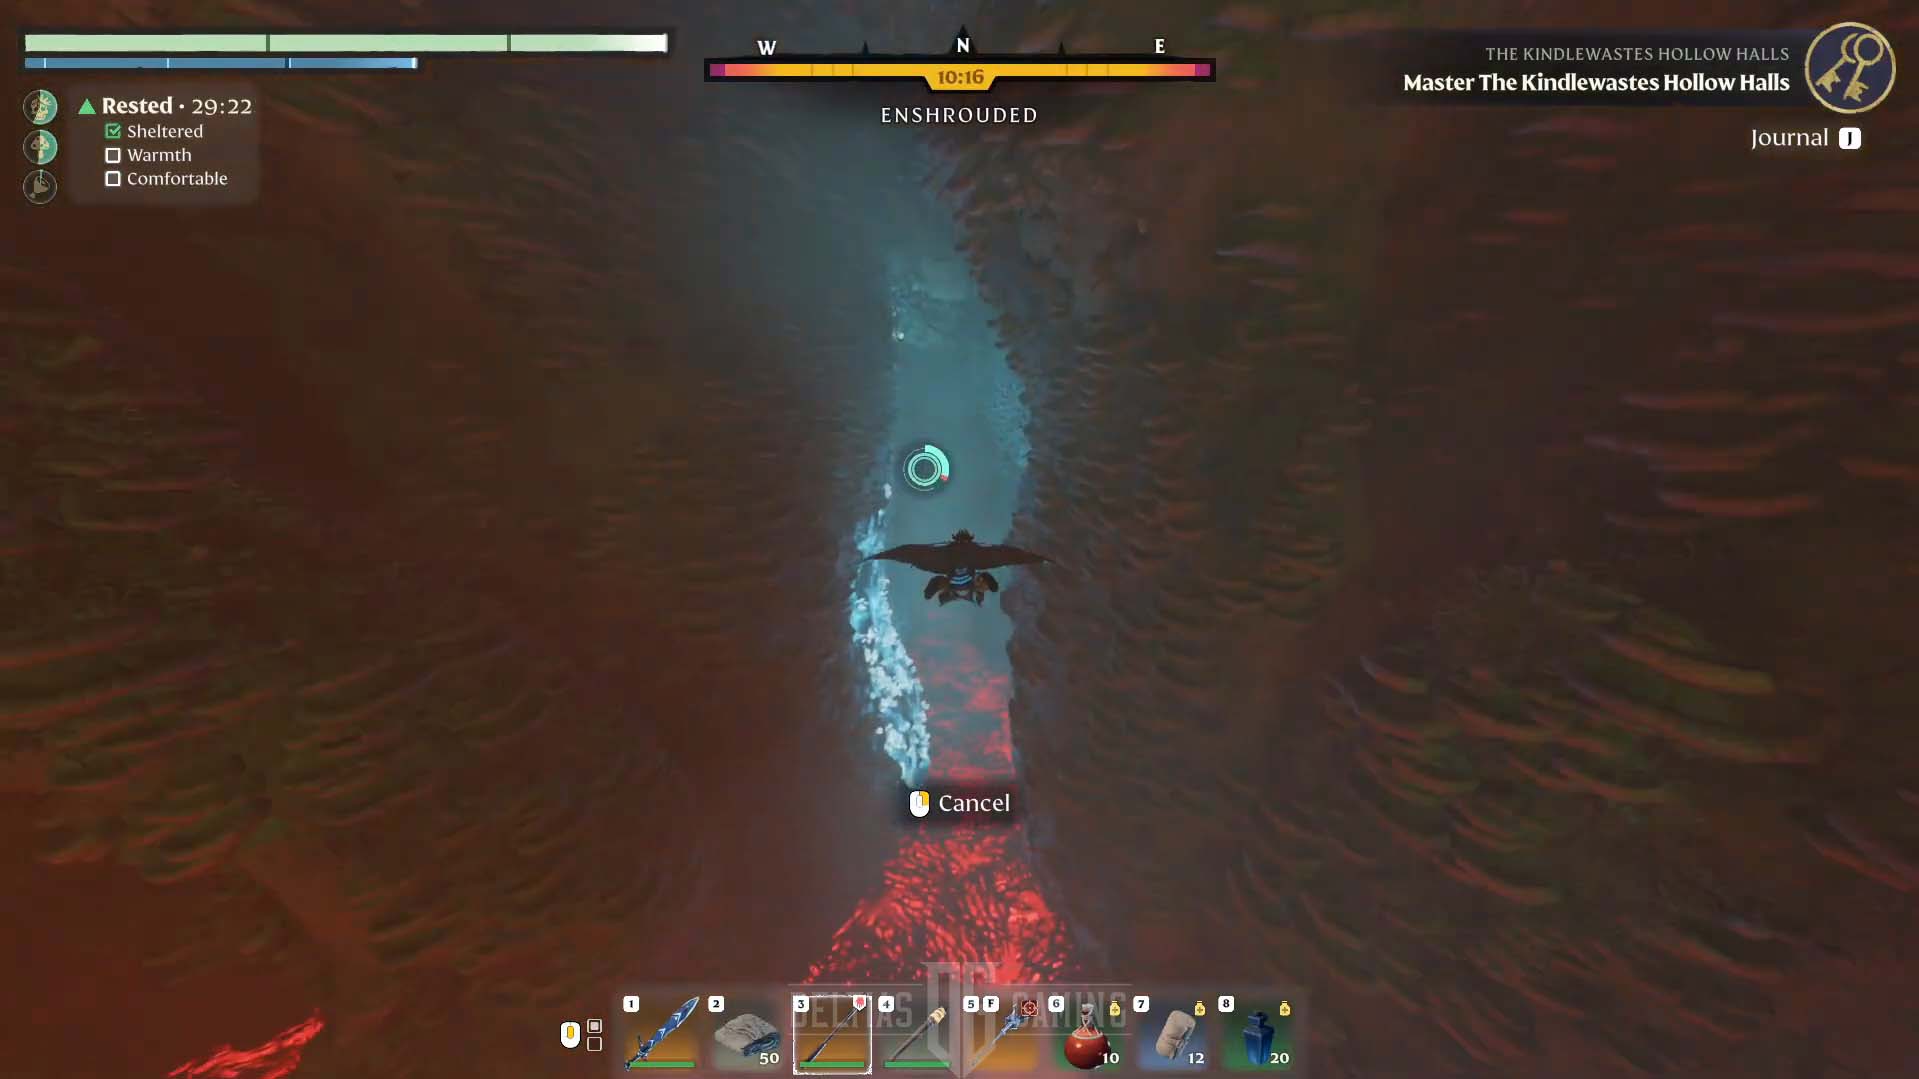
When you land, climb stairs, and another glider journey awaits you. This time, you must fly into the narrow blue crevice in the rock.
Second Magickal Barrier – Puzzle Solution and Hollow Cyclops
The second magickal barrier door in Kindlewastes Hollow Halls blocks the path ahead. The chamber is filled with enemies and a boss. You will need to defeat casters who can drop area-effect ice spells; avoid them because they can slow you down. Move constantly, using the blink ability, for example, to avoid all melee attacks from swarms of skeletons.
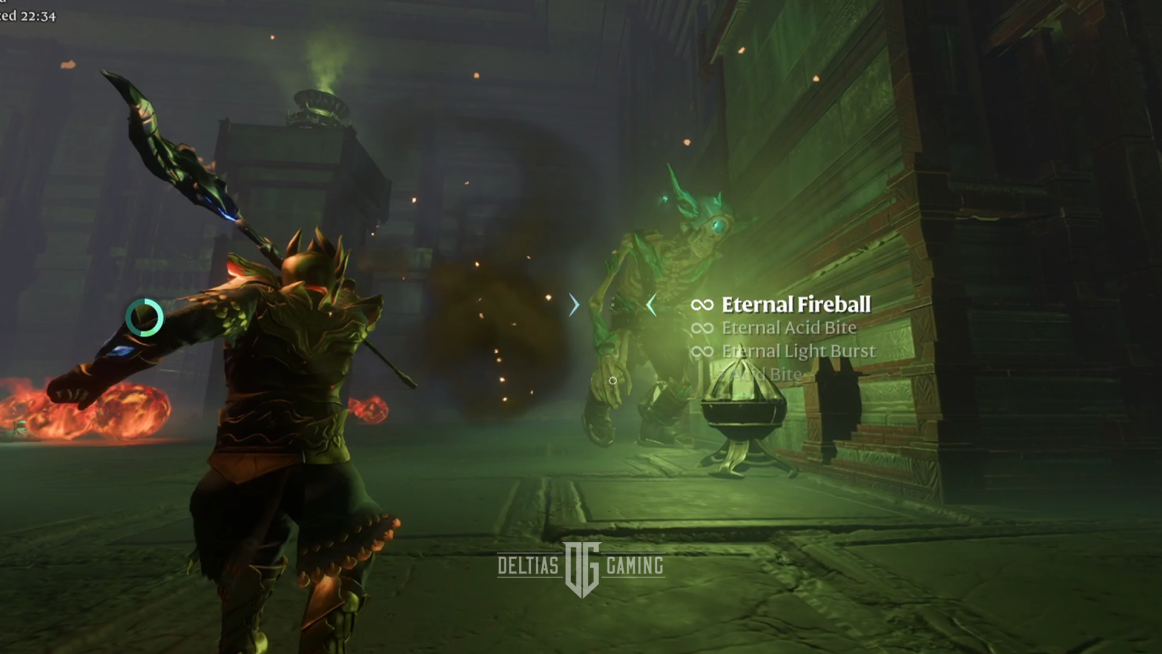
The Hollow Cyclops boss is slow, but his heavy attacks can deal a lot of damage. Stay away and use any area-effect spells or arrows to defeat them all. New giant bone arrows can pierce m, multiple enemies, and fireball staff charges.
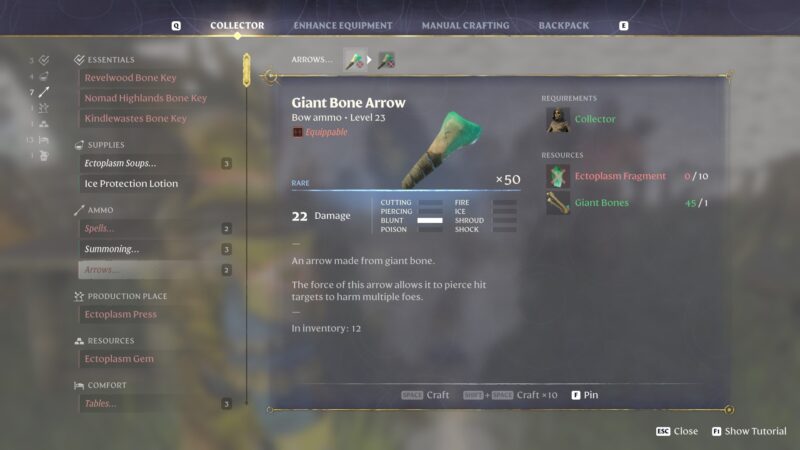
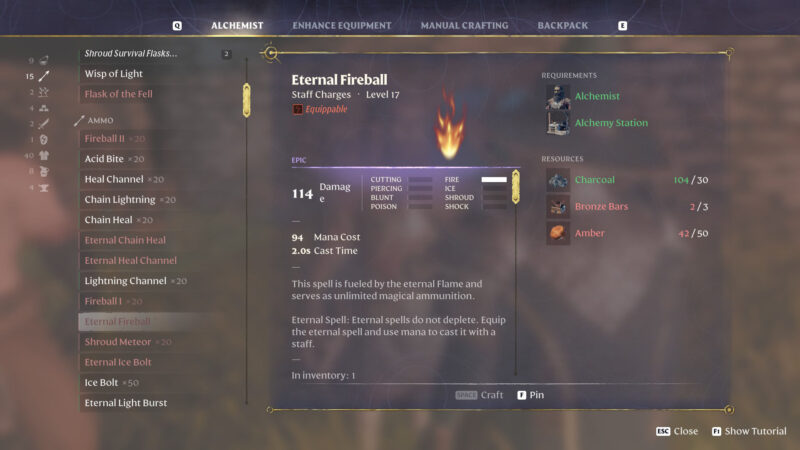
It is a challenging fight, so take your time. If you die, you should return to the last room with the beacon and repair table. The door will unlock once you defeat all enemies and the boss. Remember to loot the Frozen Core Wand, the Hollow Cyclops, and giant bones from them.
Follow the corridors ahead. You can collect a fair amount of ectoplasm fragments in the area.
Kindlewastes Hollow Halls Dungeon – Enshrouded Area Guide
You’ll finally reach the iron gate with the flag above the staircase. The area below is enshrouded; you will find more enemies than you probably know from Elixil Wells. Move swiftly because the shroud will accompany you for an extended part of the Kindlewastes Hollow Halls Dungeon; watch your Enshrouded timer.
Third Magickal Barrier
Once more, you must defeat all undead with the runes above their heads to open the third Magickal Barrier and process further. It’s one of the easiest fights.
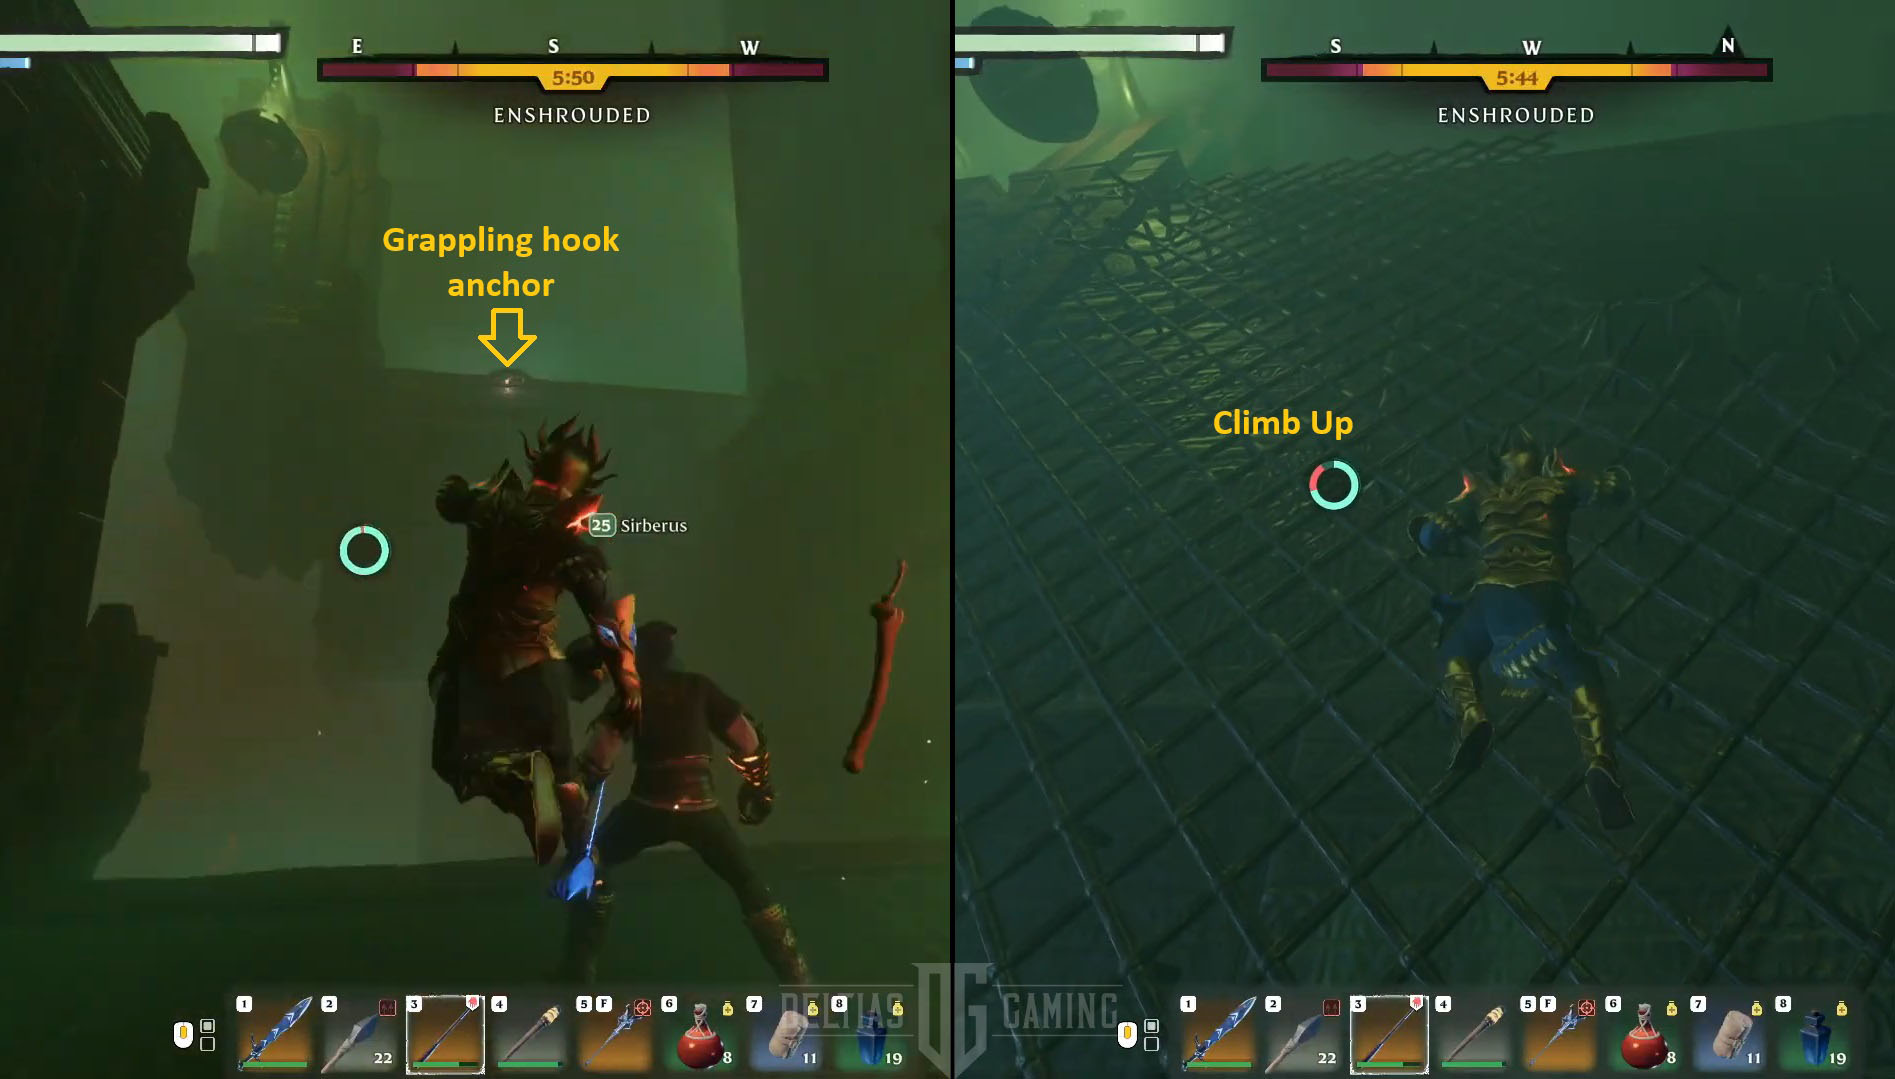
Leave the room and look right. There is a grappling hook anchor that will help you get to the higher shelf.
Before you enter the room with electric traps, go straight, open the iron gate, and activate the beacon there. It will serve as a checkpoint in case you die, and your Enshrouded timer should also reset there.
Second Chasm and Gliding Puzzle
Once you pass the lighting traps, the best way is to double jump, immediately activate gliding, and fly above the obstacles. Another giant chasm that will require you to glide all the way to the end of the tunnel filled with lava floor is next. But this time, it’s a shorter flight.
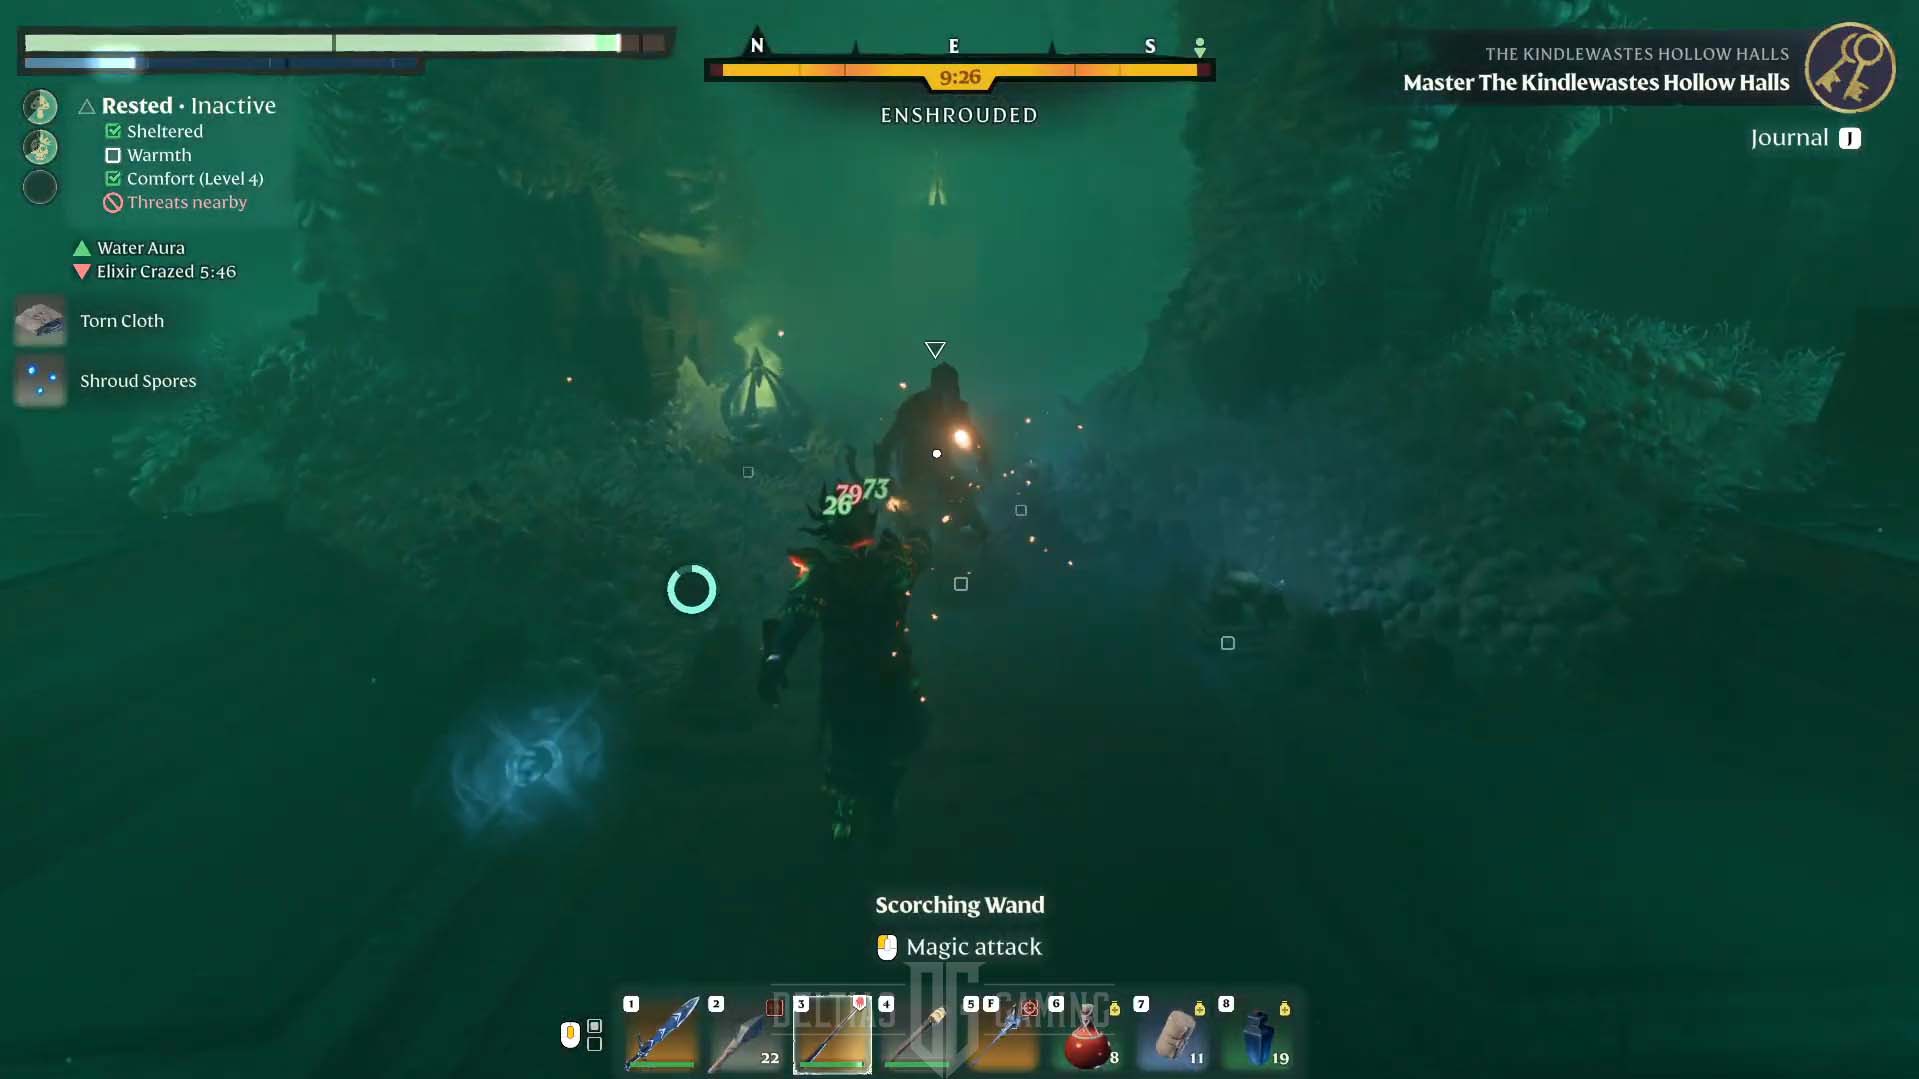
Before you pass next door, prepare for the fight. There are melee shroud creatures and a Scythehead lich who attacks with AoE bombs. The boss will throw high-damage spells, so avoid them at any cost. You can treat the doorframe as a choke point and kill everything that comes from there without stepping inside the room with the boss and enemies. The boss should stay inside, and once you kill the weaker foes, you can deal with the flying lich. Only remember to avoid being in the boss’ visibility cone.
Fourth Magickal Barrier Door – Puzzle Solution
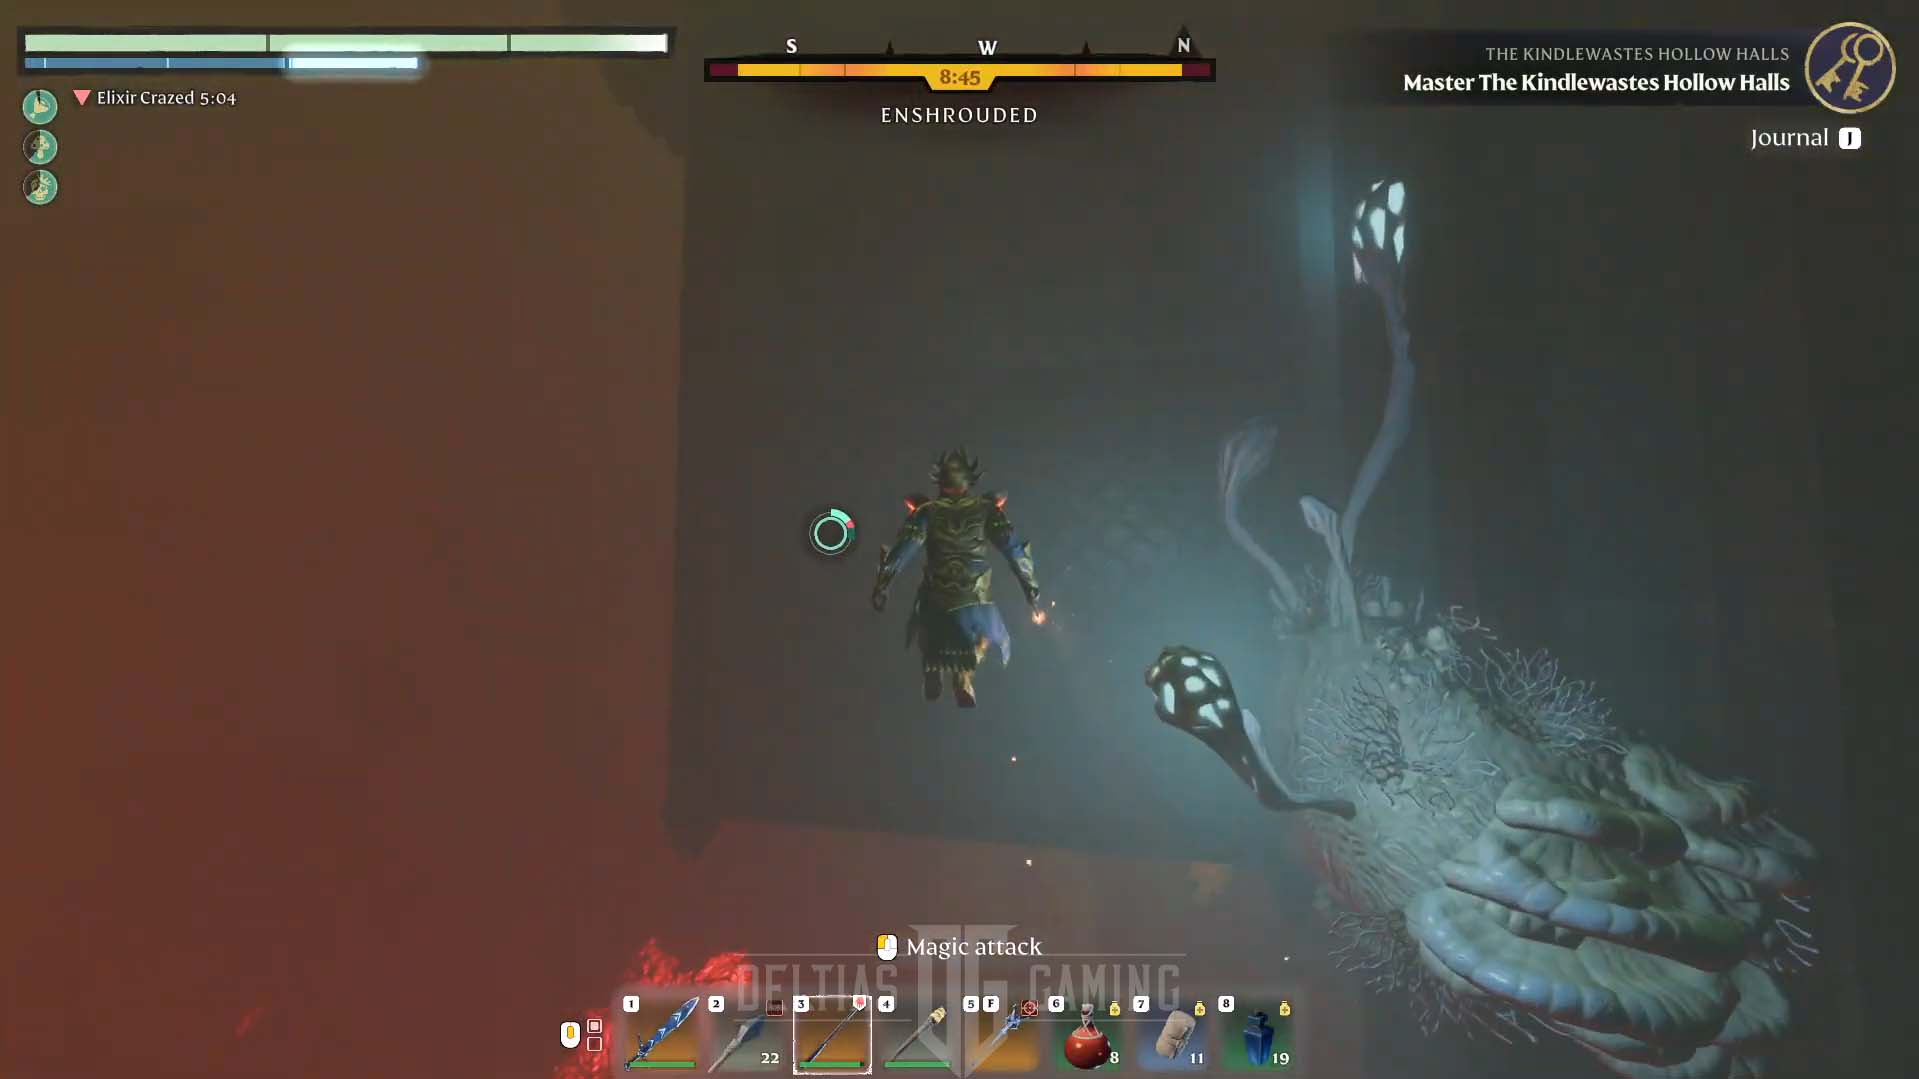
Climb the stairs, kill enemies, and flying drakes on your way up. Jump on the iron mesh on the wall and climb it.
In the next room, you will again encounter special undead with runes above their heads. You must defeat them all until you get the pop-up on the screen that the barrier is unlocked to solve the third puzzle. Also, inside the next room, you will find another big totem in the middle of the room that spans many new sceletons every few seconds. Disrupt it, or you will be swarmed by them.
Grappling Hook Puzzle
Turn left and use a grappling hook on the edge of the next platform to climb up. Look into the chasm. In front of you on the ceiling are swing grappling hook anchors. There are three in a row, so you must act fast to pass to the other side.
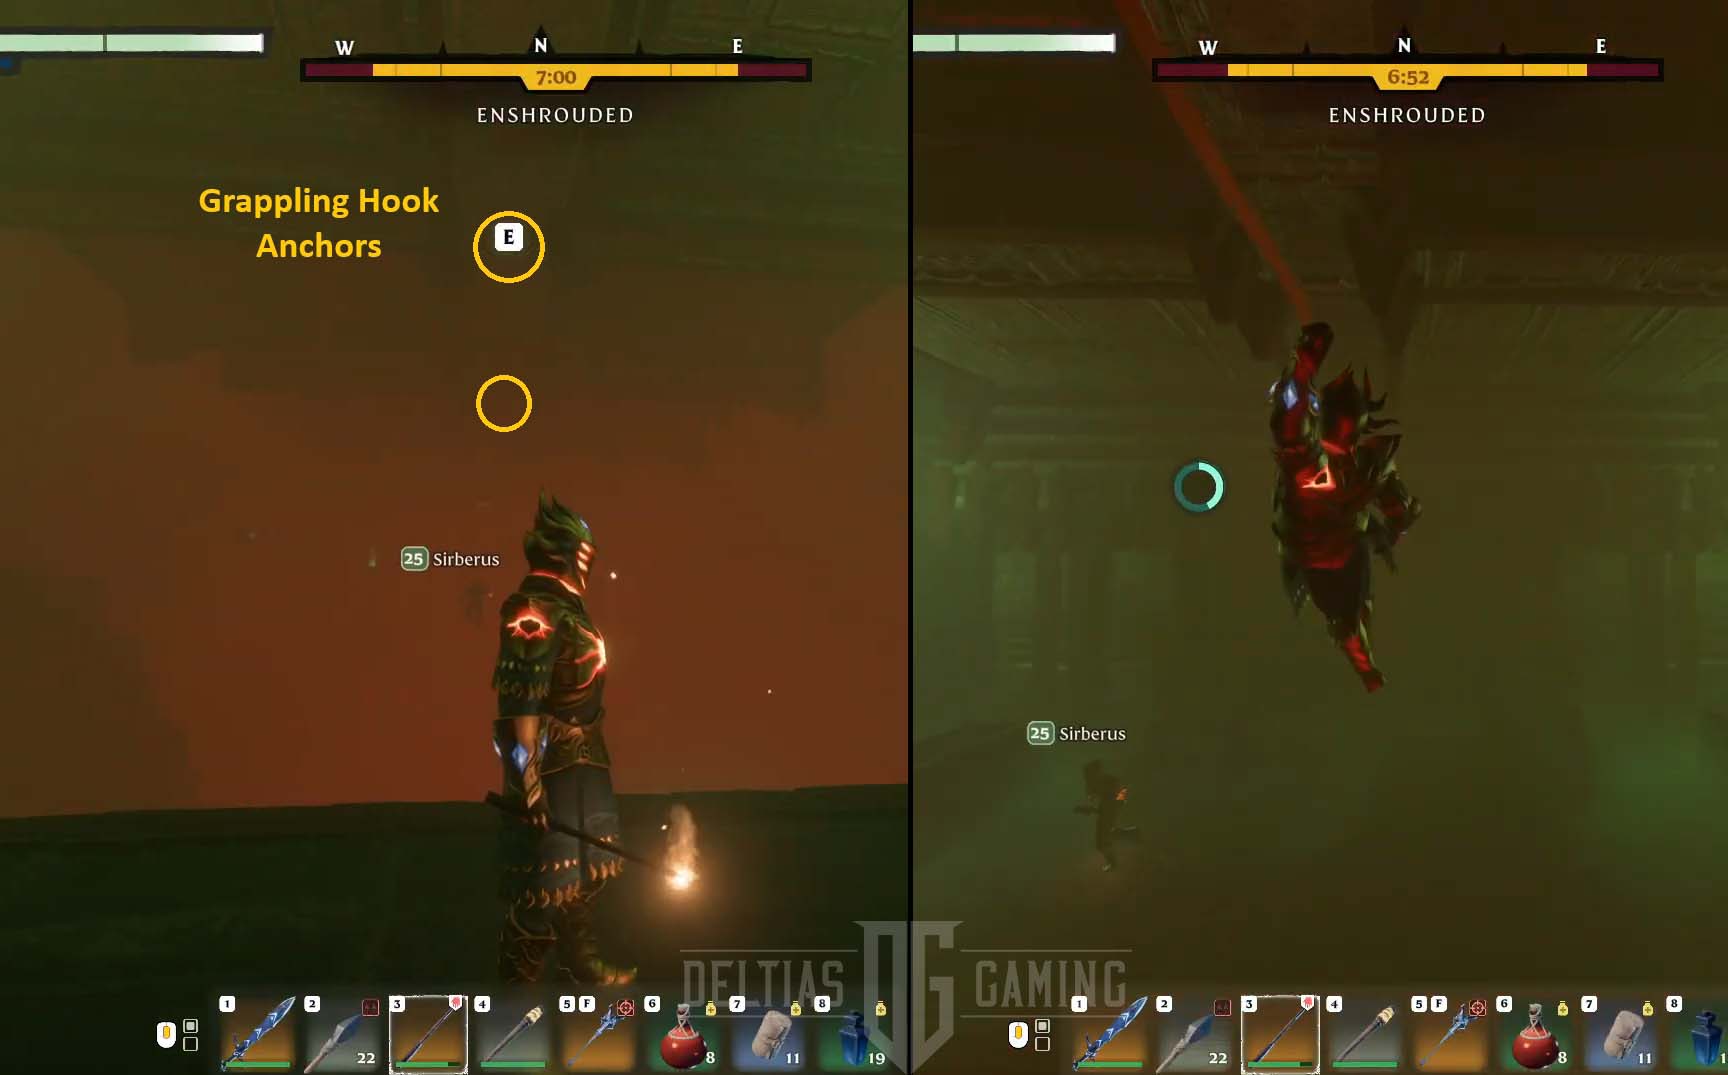
From now watch out for your stamina. There’s a lot of climbing and swinging, so take short breaks. Underneath is lava flor that will instantly kill you, and you will need to run all the way from the last beacon.
Pull yourself twice with a grappling hook, and turn around after you pass blue plants lighting the area. There is another iron mesh to climb up. Turn left first to activate the beacon in the room at the end of this corridor. Also, repair your gear if necessary. Don’t pass the door yet. Return to the open space and pass the broken bridge.
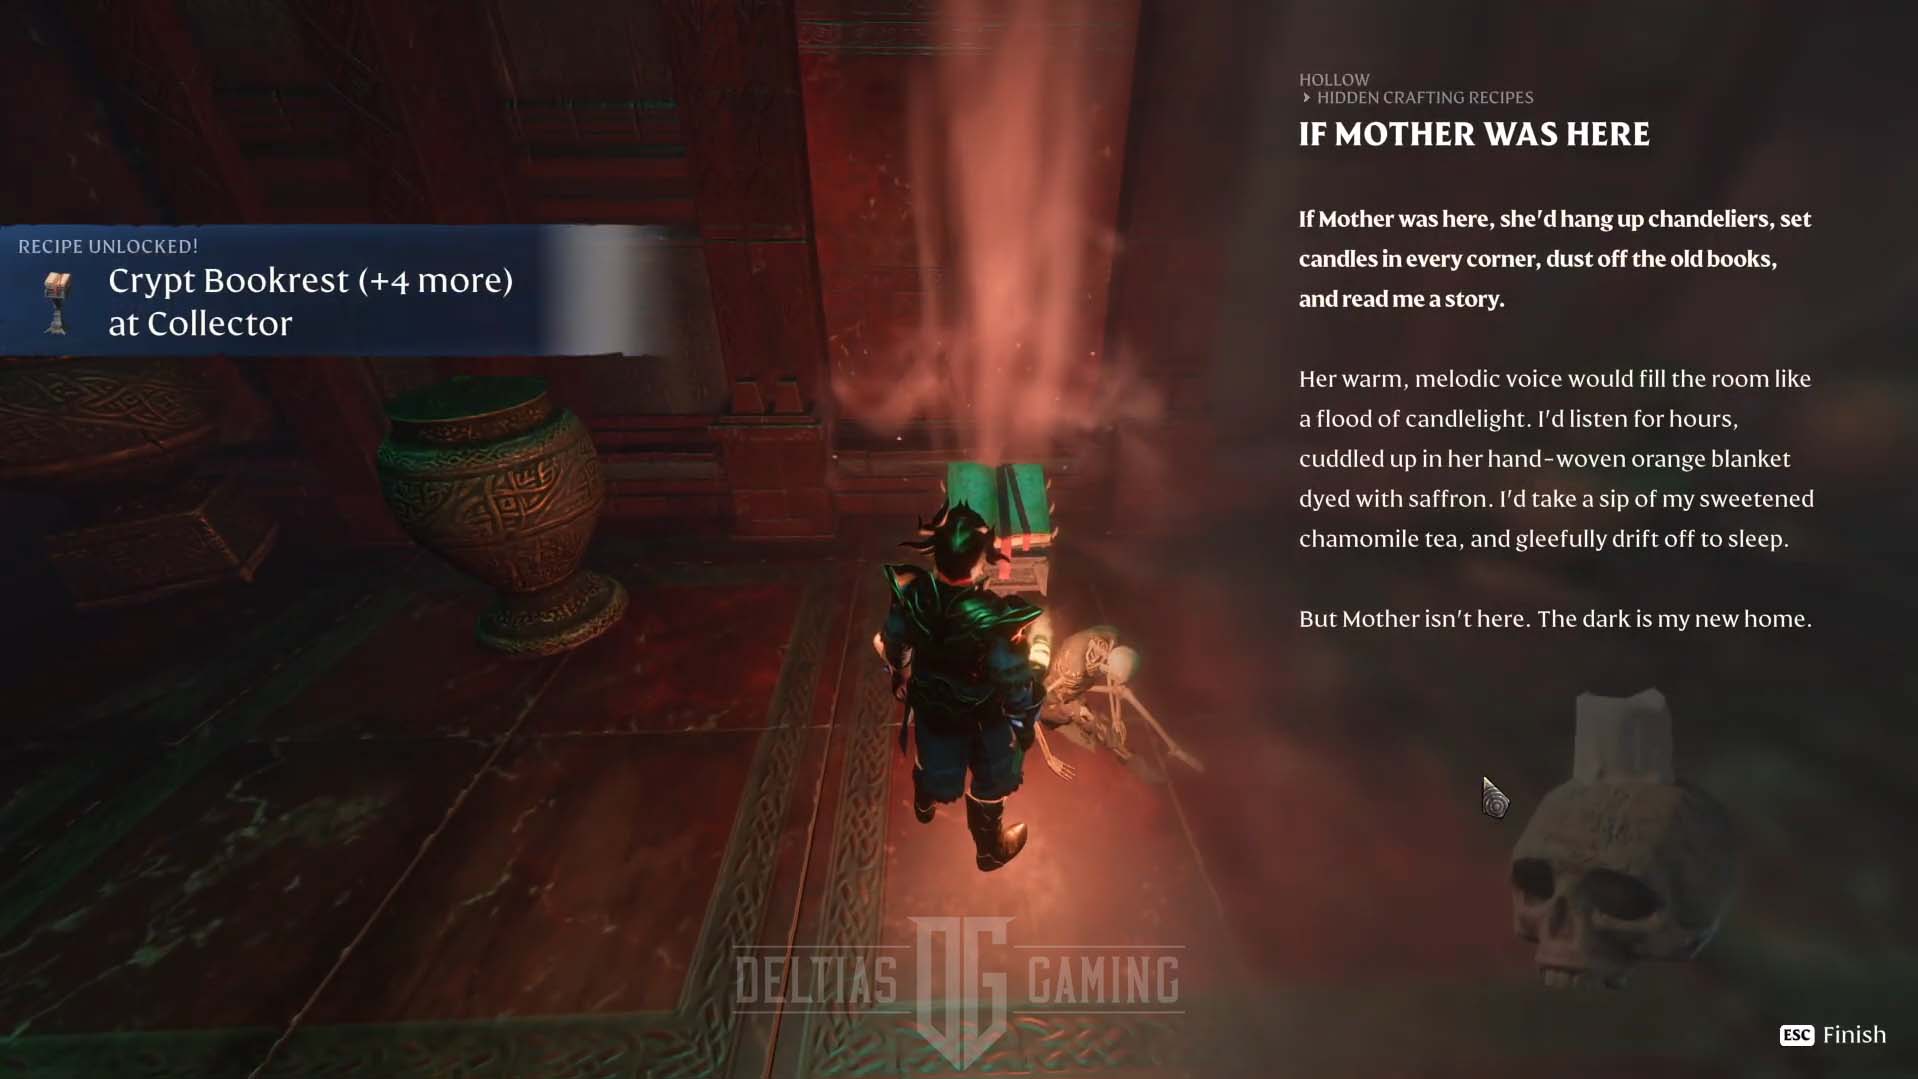
In the room ahead, don’t skip a book on a stand. It is one of four recipes you can unlock in Hollow Halls Dungeon. Then return to the room with the beacon, and you can pass the door.
Prepare for another long glide down above the lava. Avoid hitting the obstacles and slowly glide down. It’s a 5 -7 second drop full of turns, and you must constantly adjust your flight trajectory. A few islands are on the lava floor, so use them if necessary. Luckily, there is another beacon at the end.
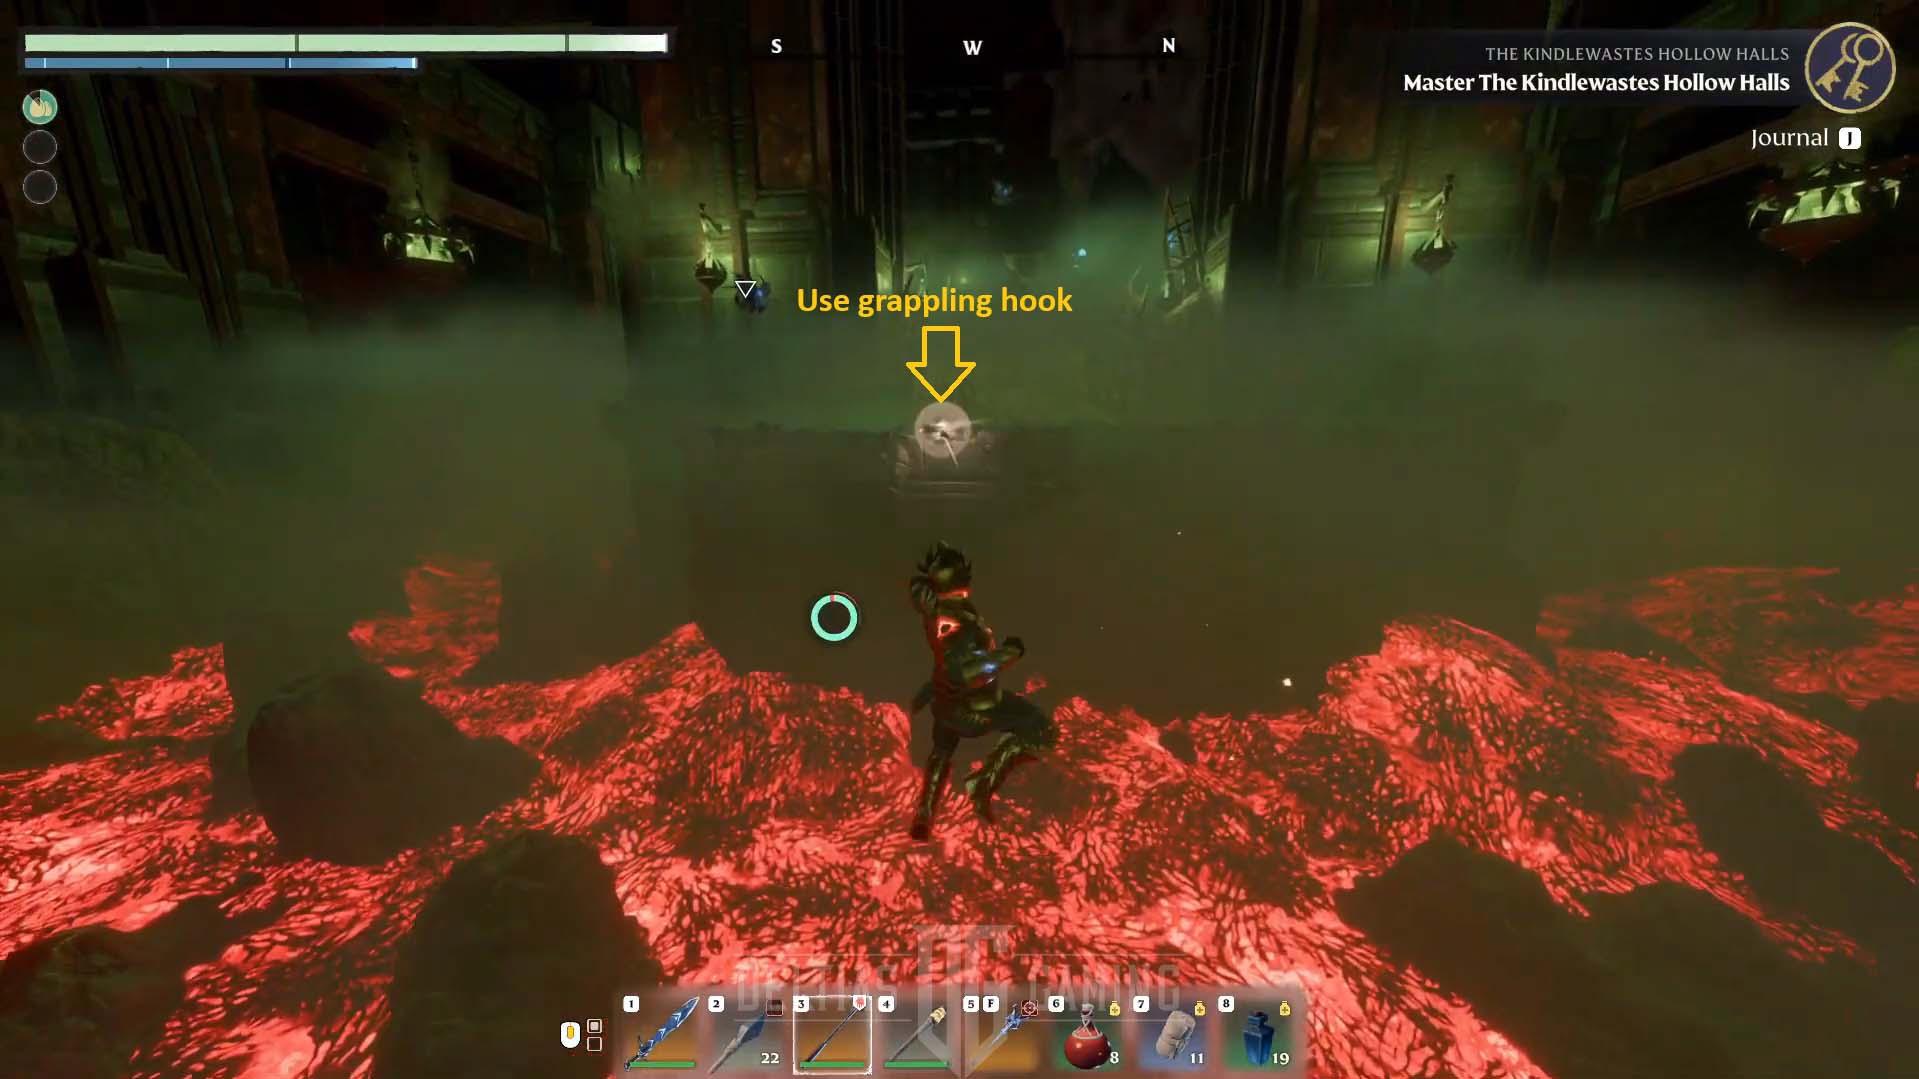
Once you find another gap in the floor, you must jump from the edge. As soon as the grappling hook action shows, press the button to get to another side. The double jump will help you reach it.
Final Boss Fight
The next chamber holds the final boss fight in Kindlewastes Hollow Halls, and we are almost at the end of our Enshrouded Guide. It’s a big chamber where weaves of smaller enemies start to spawn when you enter. Soon, flying bugs and two Hollow Cyclops will join. Like before, try to stay at range and deal damage from afar. Also, their attacks have a considerably extensive range. You also must constantly deal with smaller enemies that will spawn. Otherwise, you will quickly become overwhelmed.
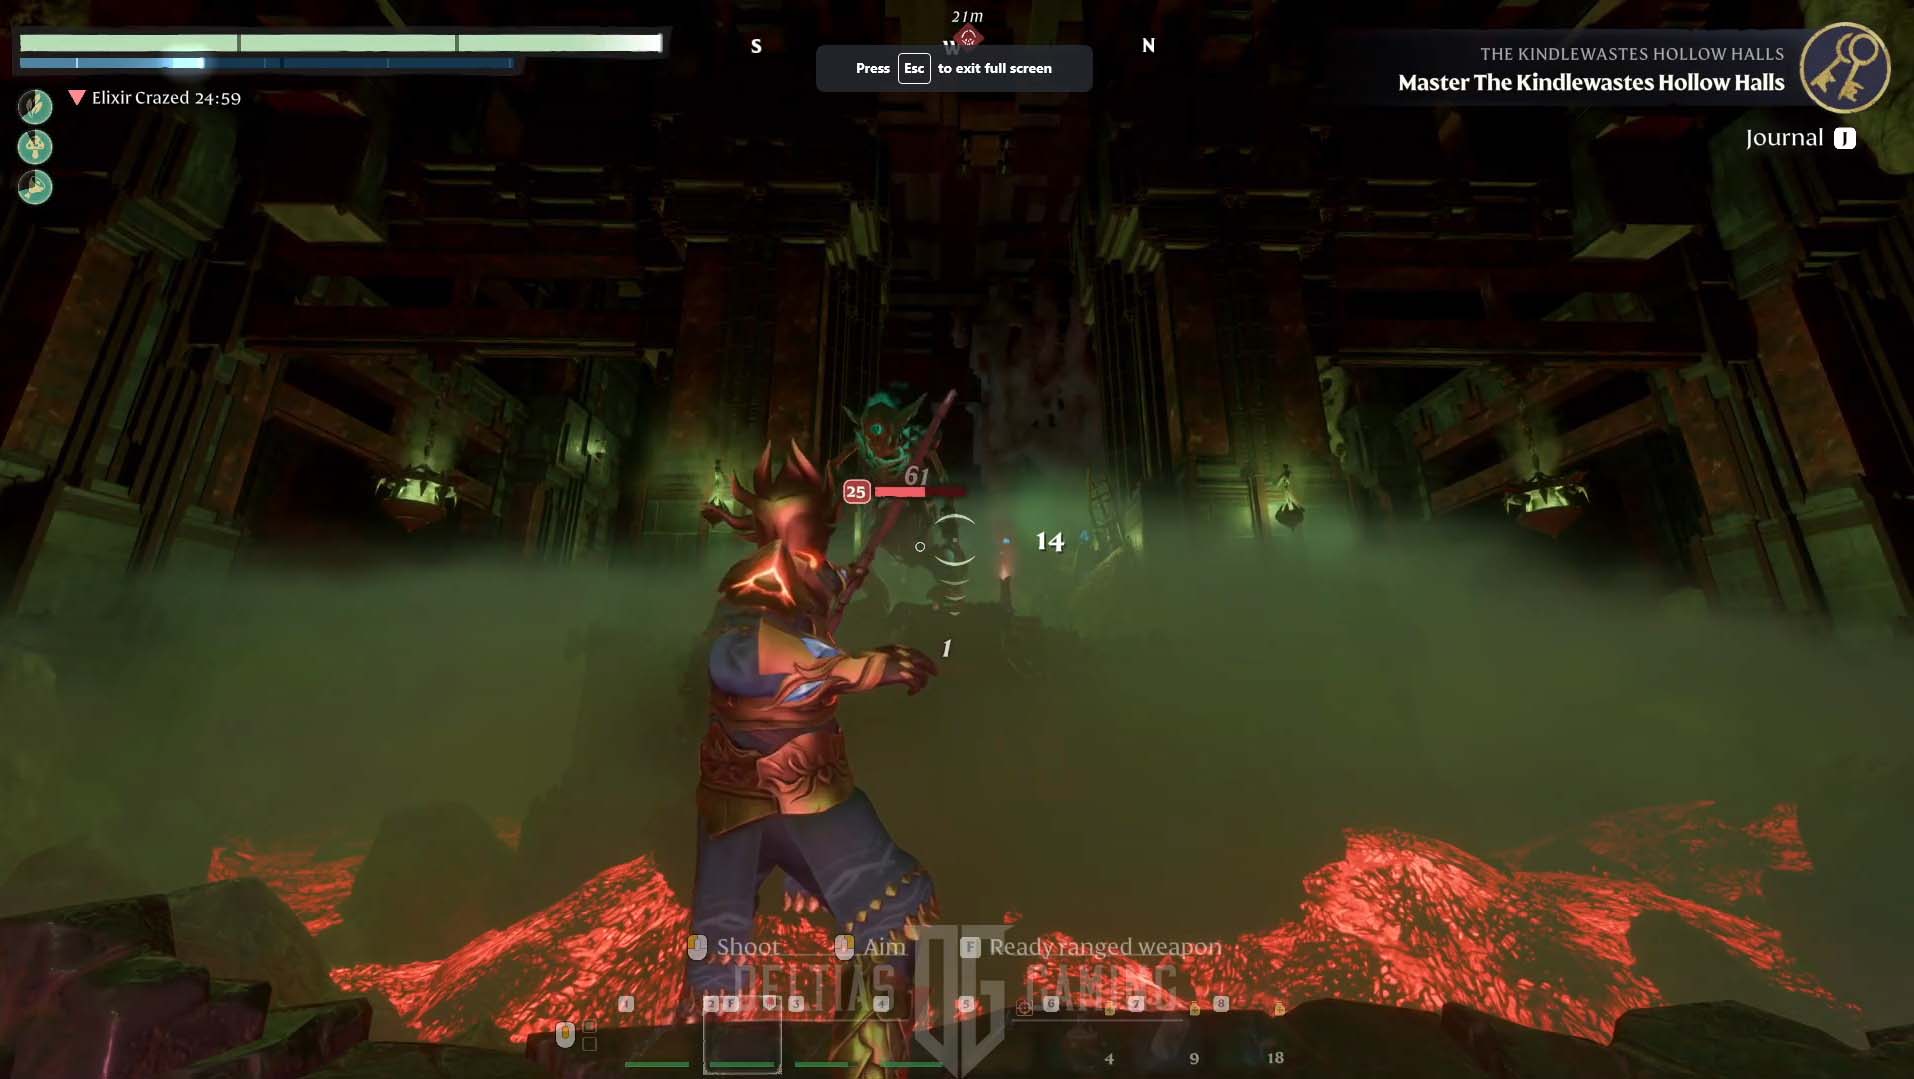
There is a cheese strategy you can try to apply. Agro the bosses and retreat back to the broken bridge. They won’t follow you on the other side but instead will stand on the edge, and you can kill them using arrows and spells.
Later, scythehead liches will join. You must defeat them all to open the last magick barrier door.
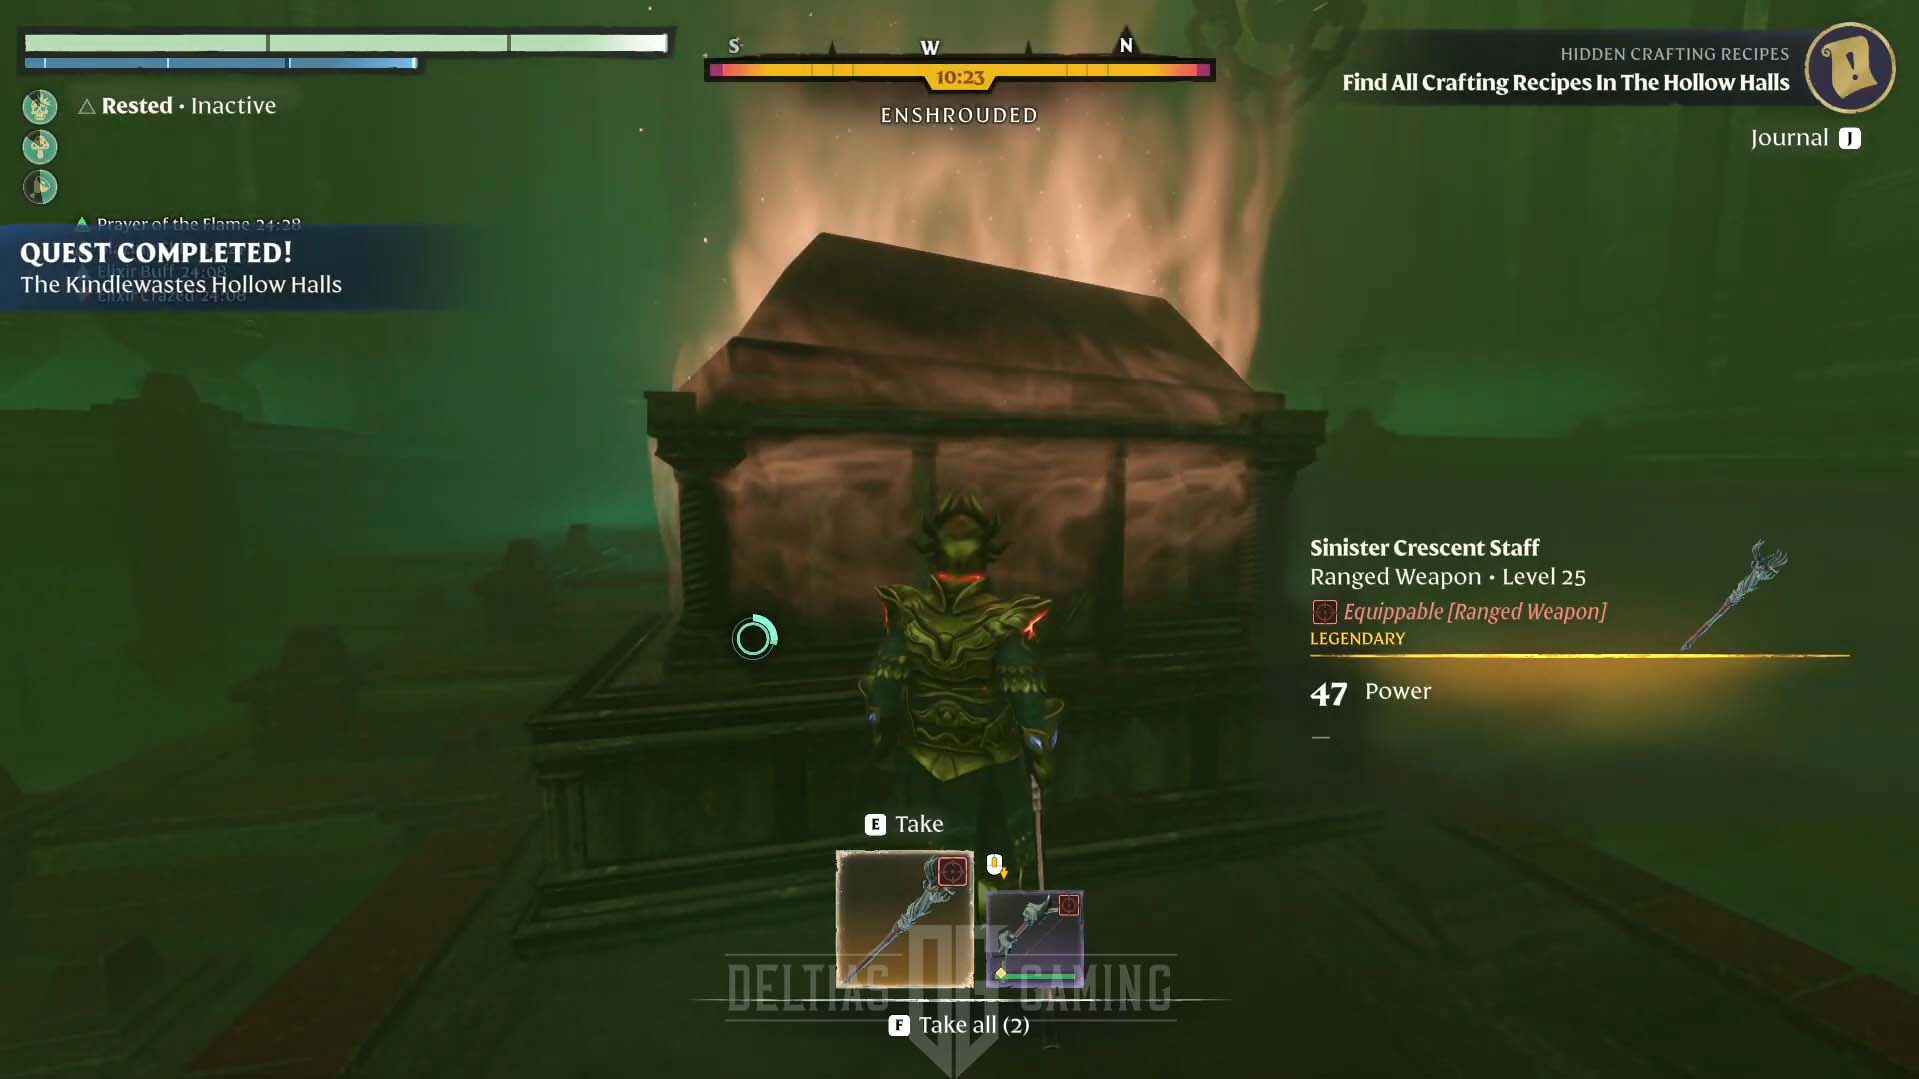
Once they are defeated, loot the area and proceed to the final chamber. You will find a glowing sarcophagus in the middle of the room, with your final reward, the Sinister Crescent Staff. Use the portal behind to return to the beginning of the dungeon.
Looking For More About Enshrouded?
- Enshrouded Guides
- Enshrouded Builds for Every Skill Tree and Playstyle
- Enshrouded Beginner Guide – Tips for Getting Started
- More News and Articles about Enshrouded…


